Welcome back to our Summer Quilt-A-Long
This is part 4 in our Quilt -A-Long and this week we are looking at different ways to make Half Square Triangles (HST). If you missed part 1 and 2 of our QAL you will find the instructions at the links below on our branch page at www.irishpatchwork.com.
Step 1: Introduction, Design and colouring on 01/06/20
Step 2: Breaking down the block into basic quilt units on 15/06/20
Step 3: Half Square Triangles (HST) 29/06/20
Step 4: Flying Geese These are my favourite shapes to make. I love flying geese for their versatility in how they look with different fabrics and how you can stretch them, have them flying in curves or just straight up and down.


Like HST, there are many ways to make them and in this week’s instruction, we are going to be looking at just a few of these, with some handy reference tables for you to keep, and refer to when designing your own quilts.
1 at a time
Flying Geese are traditionally twice as wide as they are tall e.g. 2” x 4” or 3” x 6” but they can be stretched to odd sizes and still be recognisable as a flying goose unit. They are made up from two corner triangles known as the sky and a centre piece known as the goose.
They are normally made from a starting square and a rectangle but they can be made from templates.

Templates for the size 2” x 4” are in this PDF for you to download. Templates can be handy when you are working from scraps and trying to make the most of odd pieced fabrics and don’t have enough fabric on hand to use the starting square methods below.
1 at a time sew and flip method
The sew and flip method uses a starting square and rectangle that is + 0.5” bigger than the finished size of your Flying Goose. This method is very handy if you want to use different fabrics for the sky and geese.
Cut 1 rectangle for the Goose piece finished size + 0.5” seam allowance and 2 Sky units as squares finished height +0.5” e.g. to make a 4” x 2” finished flying goose unit you will need a rectangle 4.5” x 2.5” and 2 squares 2.5” x 2.5”. 
Place a sky square right sides together on the corner of your goose rectangle and draw a line on the diagonal as shown.
Sew along this line
Tip: some people find it easier to sew a scant ¼” or a fraction  to the outside of the line. The thickness of the thread and the fold line can take up a bit of room in the seam allowance and leave you a little short when the fabric is flipped open. Sewing a few threads outside your marked line can give you a little wiggle room and any excess fabric can be trimmed back later
Trim ¼” away from your sewn line shown here in orange.
Tip: If you take the waste triangles you just trimmed, you can sew ¼” along the diagonal and create a HST and use it later.
Flip open and press.
Repeat for the other side and you have 1 Flying Geese unit.
Trim to size if needed e.g. 2” x 4” unit trim to 2.5” x 4.5”
Here’s a handy reference table for sizes 1”x2” up to 6” x 12” Flying Geese:

4 at a time no waste method
This method makes 4 identical Flying Geese at a time and is called the No Waste Method as you don’t have to cut off the corners as is needed in the 1 at a time method above.
To start with, cut a square of Goose fabric, finished size + 1 ¼” e.g. for 2” x 4” Flying geese cut a square 5 ¼” x 5 ¼”.
Cut two squares Finished Height +1”for the Sky pieces e.g. for a 2” x 4” Flying Goose cut four 3” x 3” squares.
Place 2 Sky squares on opposing corners, right sides together. The small squares overlap in the centre.
Mark a diagonal line from corner to corner.
Sew a scant ¼” seam along either side of this marked line.
Cut along the central marked line to create 2 identical pieces.

Press seams open to the Sky side.
Place remaining Sky squares on the opposite corners as shown. It w ill overlap the first Sky triangles.
Mark a line along the diagonal of your Sky squares and sew a scant ¼” seam on either side of the marked line.
Cut along the marked line into 2 pieces and press open.
Repeat with the remaining piece to make 4 identical flying geese.
 Trim to required size making sure the point is in the centre and you have a ¼ seam allowance above the point of the Goose where the sky units meet.
To make other sizes here is a reference chart for the size of starting squares needed for the Sky and the Goose Fabric:

Foundation paper piecing
Foundation paper piecing is a very handy method for making lots of Flying Geese stacked one on top of each other in rows. It’s also the easiest method to use when Flying Geese don’t follow the 2:1 ratio described above.
There are a few different ways of approaching Foundation Paper Piecing.
- You can print the template for 2” x 4” Flying Geese on to special paper that tear easily like Carol Doaks Foundation paper.
- You can trace the template onto Magic paper or a leave in interfacing
- You can print on standard copy paper and perforate the lines in the template with an unthreaded sewing machine by sewing along all the lines in the template.
Reduce your stitch length to something like 1.5 to make tiny stitches for a strong seam that won’t rip when pulling out the paper afterwards. 
TIP: Fold over the paper along every line before starting i.e. fold over on the line between A1 and A2, A1 and A3, A1-A2-A3 and A4, A5 and A4, and lastly A4 and A6
The first sewing line is between A1 and A2 so to begin, place a piece of fabric big enough to cover A1 plus ¼” seam all around on the back of the template with the right side facing down and wrong side to the back of the template. Place a piece of fabric for A2 right sides together on top of A1.
Tip: Don’t cut your fabric too small, with Foundation Paper piecing you always need pieces bigger than you think especially when flipping open on a diagonal line. Pin A1 or glue basting in place helps with holding all the pieces together.
Making sure there is an overlap on the line between A1 and A2 sew directly on the line through the paper and the two pieces of fabric to create your seam. Flip open and check that the fabric completely covers A2 plus ¼” at least all the way around.
Turn the piece right side up, with the fabric right sides together, fold back the paper along the A1-A2 line and trim the excess fabric in the seam using a ¼” seam allowance. Press the seam with a dry iron, flip open and press open. Repeat for A1-A3 and follow the numbering sequence until you have all the pieces covered.
Tip: If you are making flying geese with different colour fabrics, it can help to mark the colours needed on the printed side of the template
Quilt-A-Long
For the purposes of our QAL, the first 3 methods described here will work best for the Blocks we are making. Foundation Paper piecing is included to cover the normal methods of making flying geese and to show how versatile these units can be.
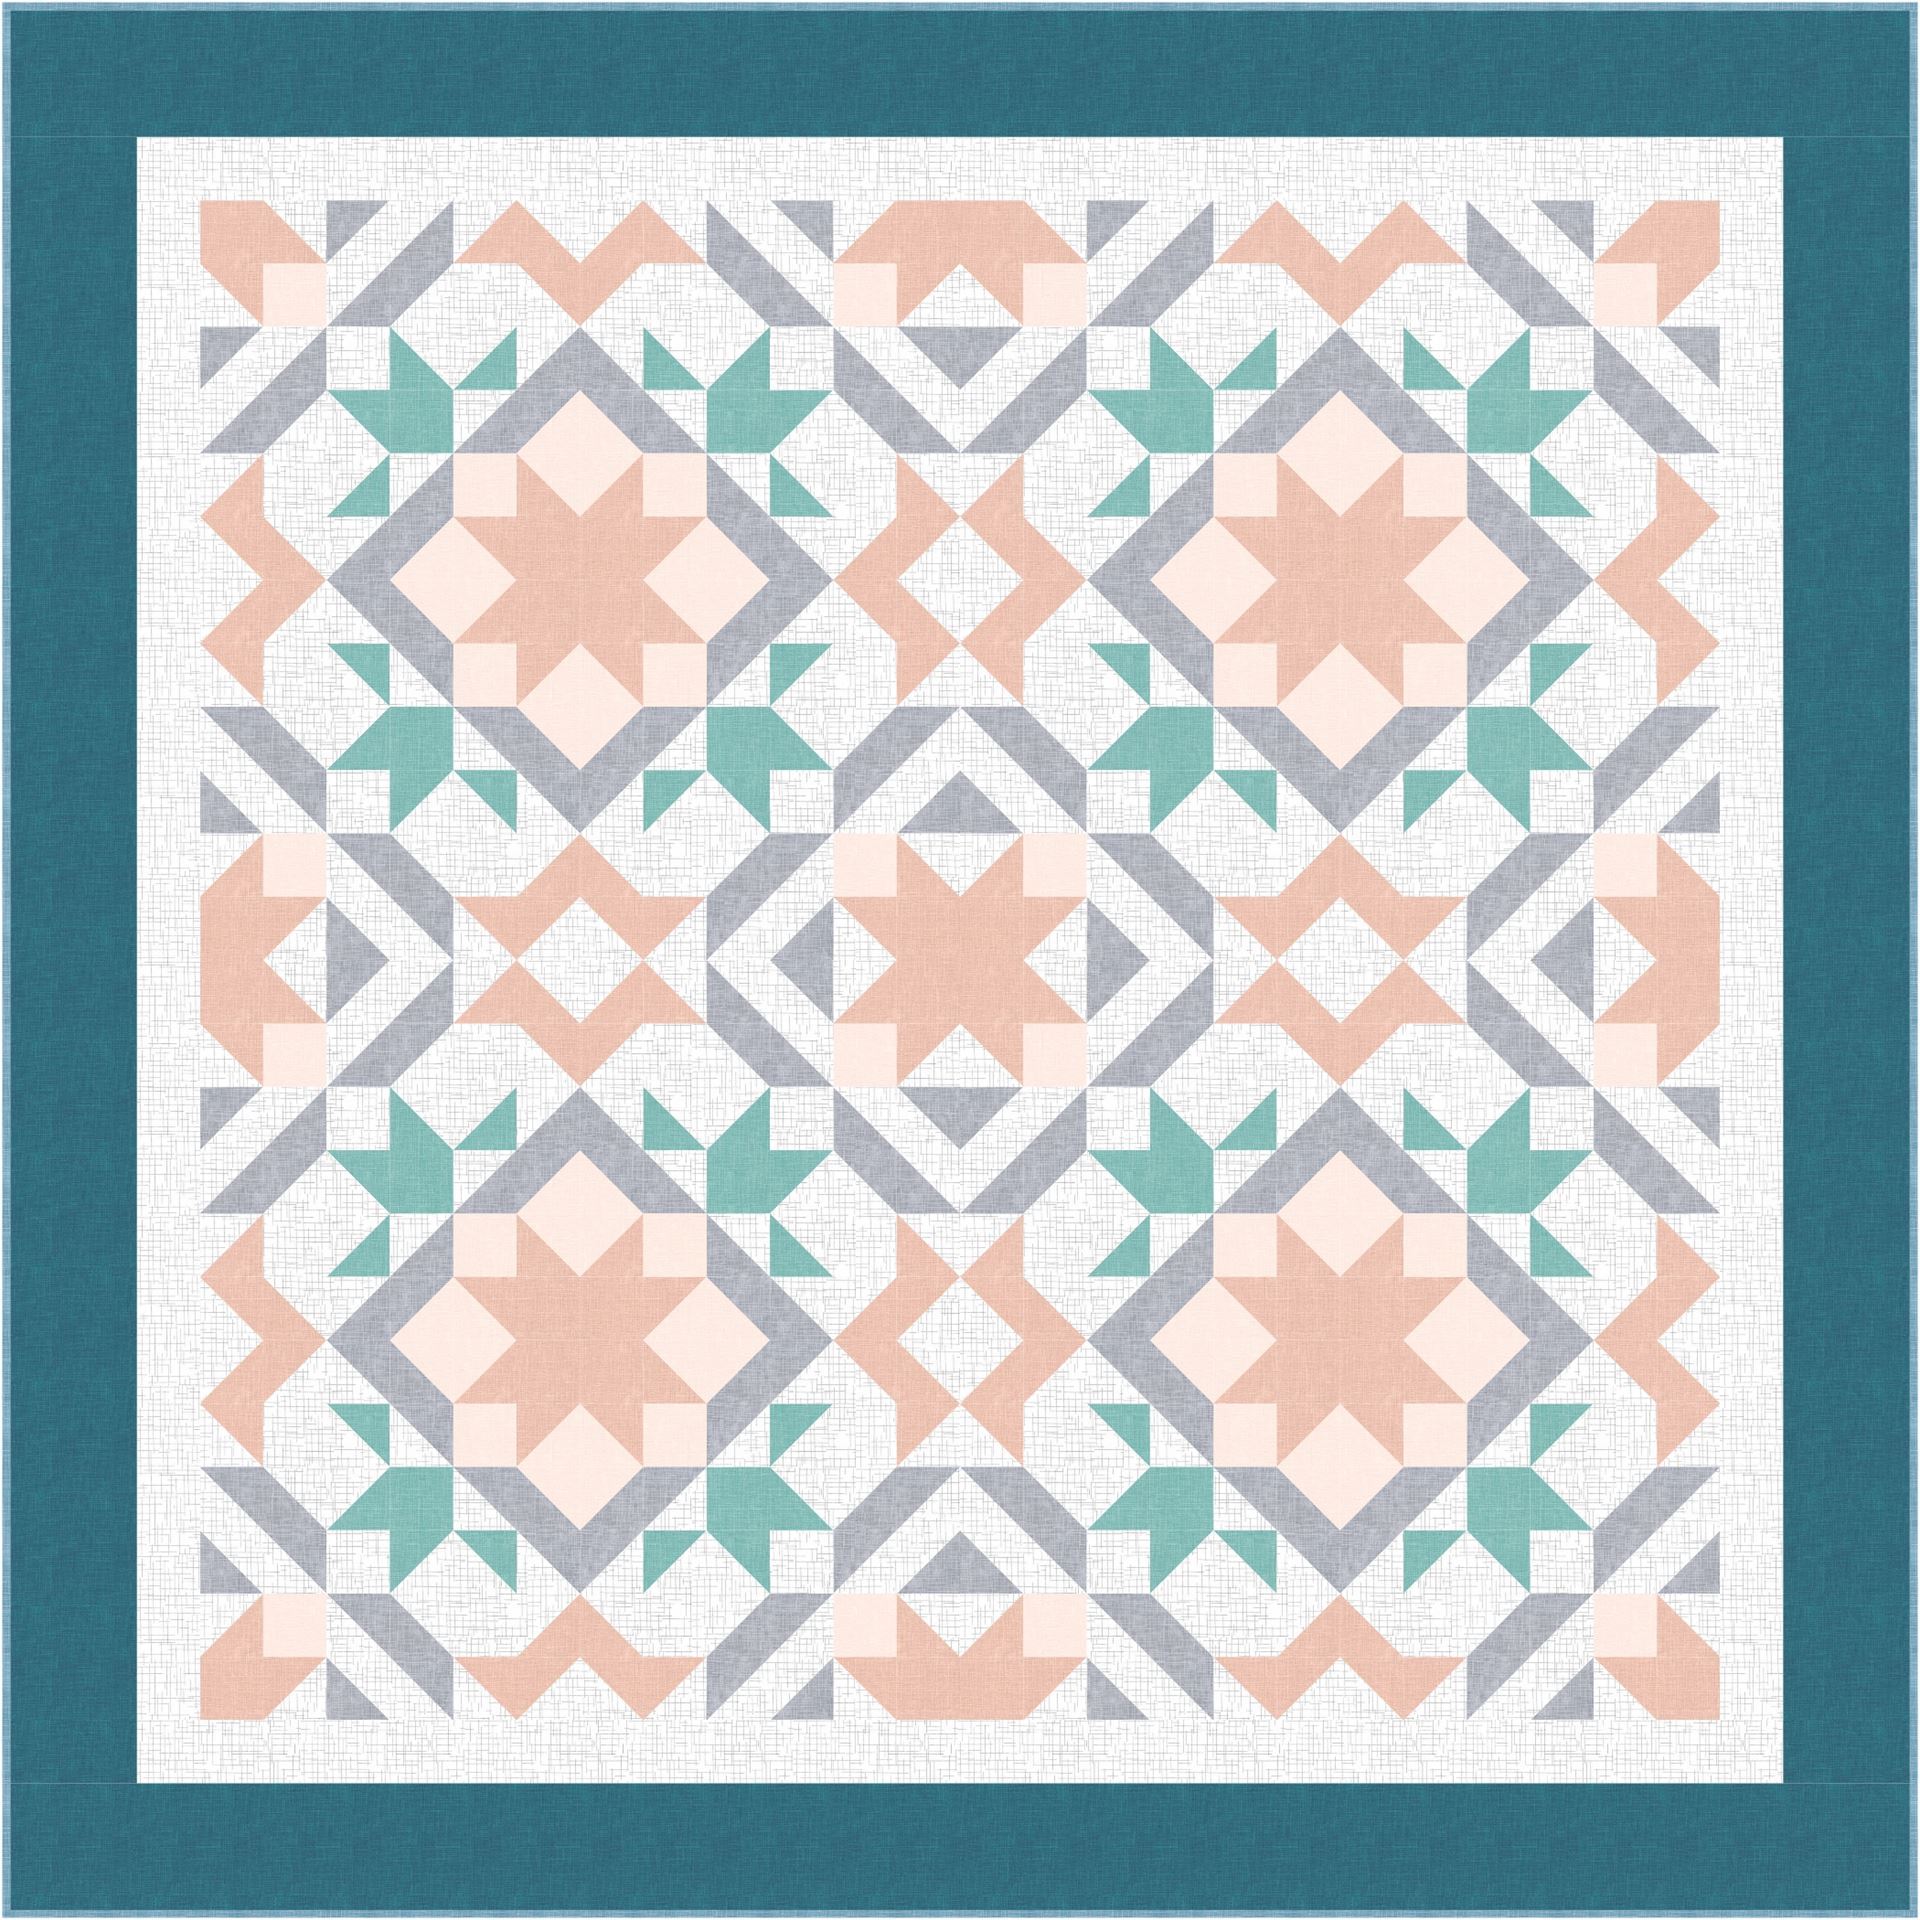
Block 1:


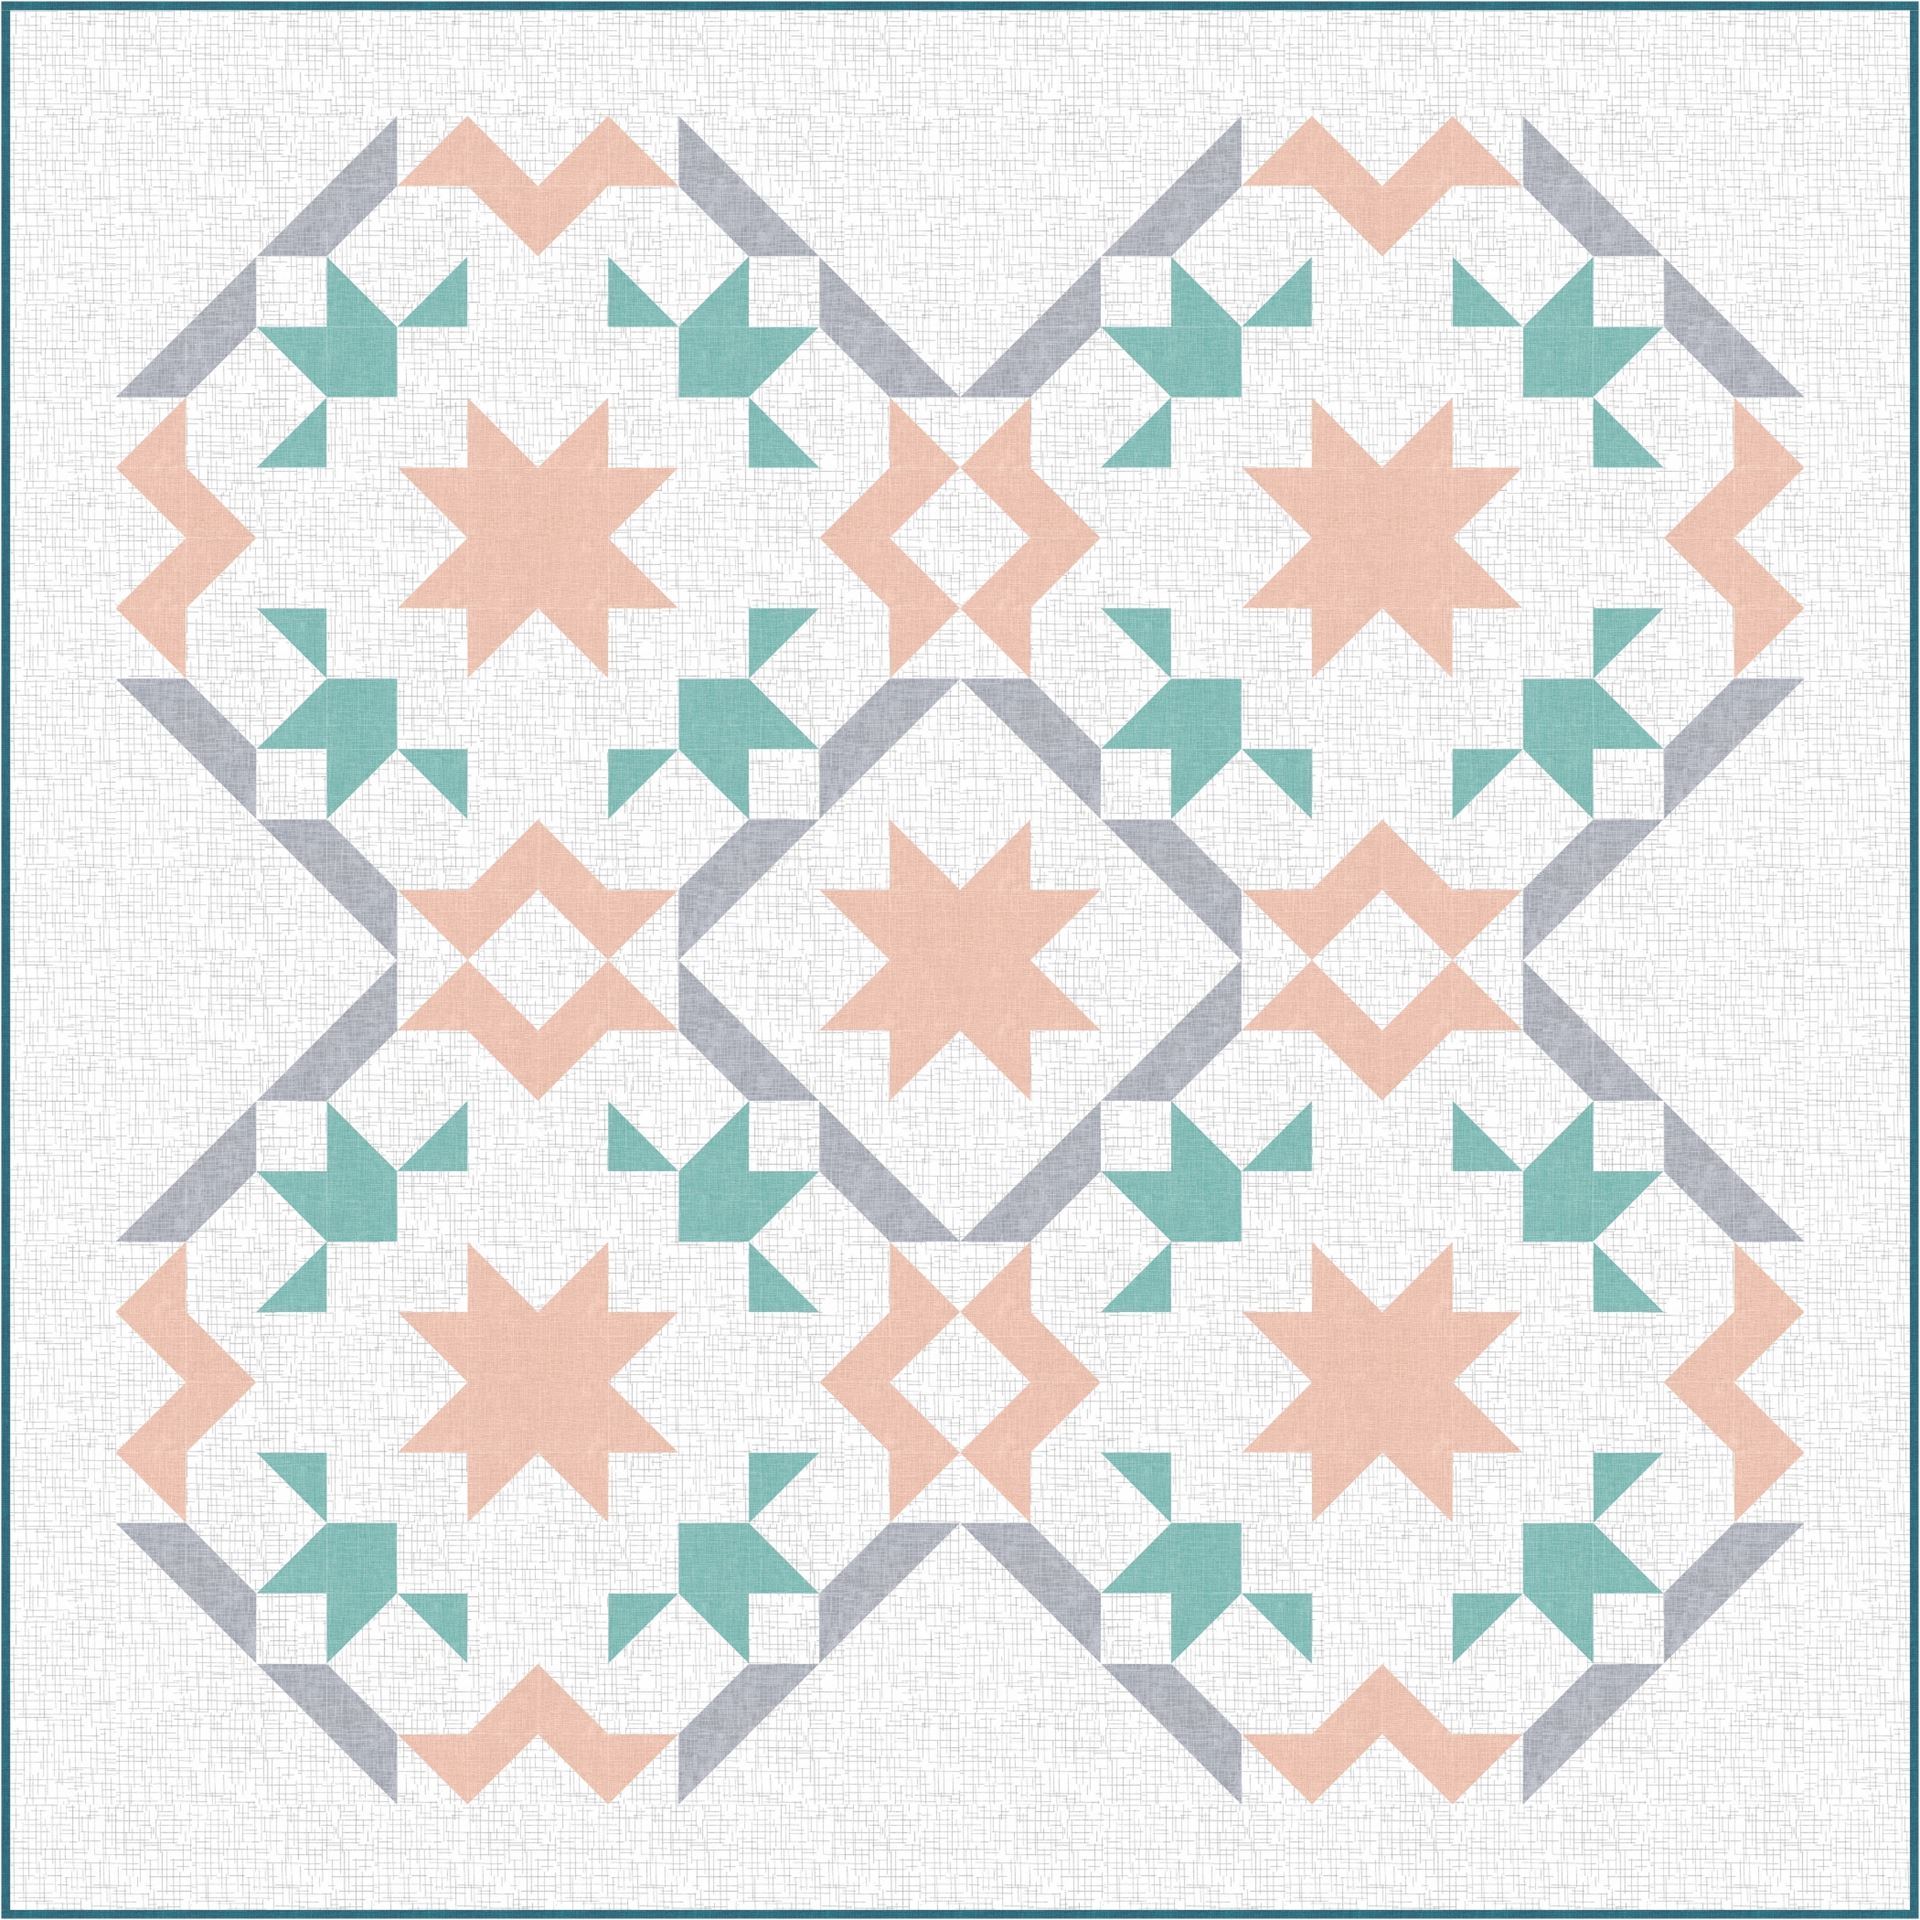
Block 2:


Depending on the fabric you have on hand, using scraps or yardage, select the method that suits your fabric best. So go ahead and make the required number of Flying Geese units for your chosen block.
If you are wondering how many squares you will get from a fat quarter or yardage here is a link to our handy cheat sheet, more of which can be found on our website under Resources, available to members after logging into our site.
Please join us in two weeks time, when we look at assembling our blocks starting with the corners.
Thanks for joining us,
Stay safe and happy sewing!
©Ruth Bourke
Mid-Western Branch
