Welcome back to our Summer Quilt-A-Long.
This week we are looking at our block and breaking it down to determine what pieces to cut. We have 2 blocks for you to choose from and if you missed part 1 of our QAL you will find the instructions for part 1 here or on our branch page at www.irishpatchwork.com along with a colouring diagram, suggestions on colours and what the block looks like when tiled 2 blocks x 2 blocks (4 blocks in total).
If you are making block 1 read on if not skip ahead to block 2 on page 4.
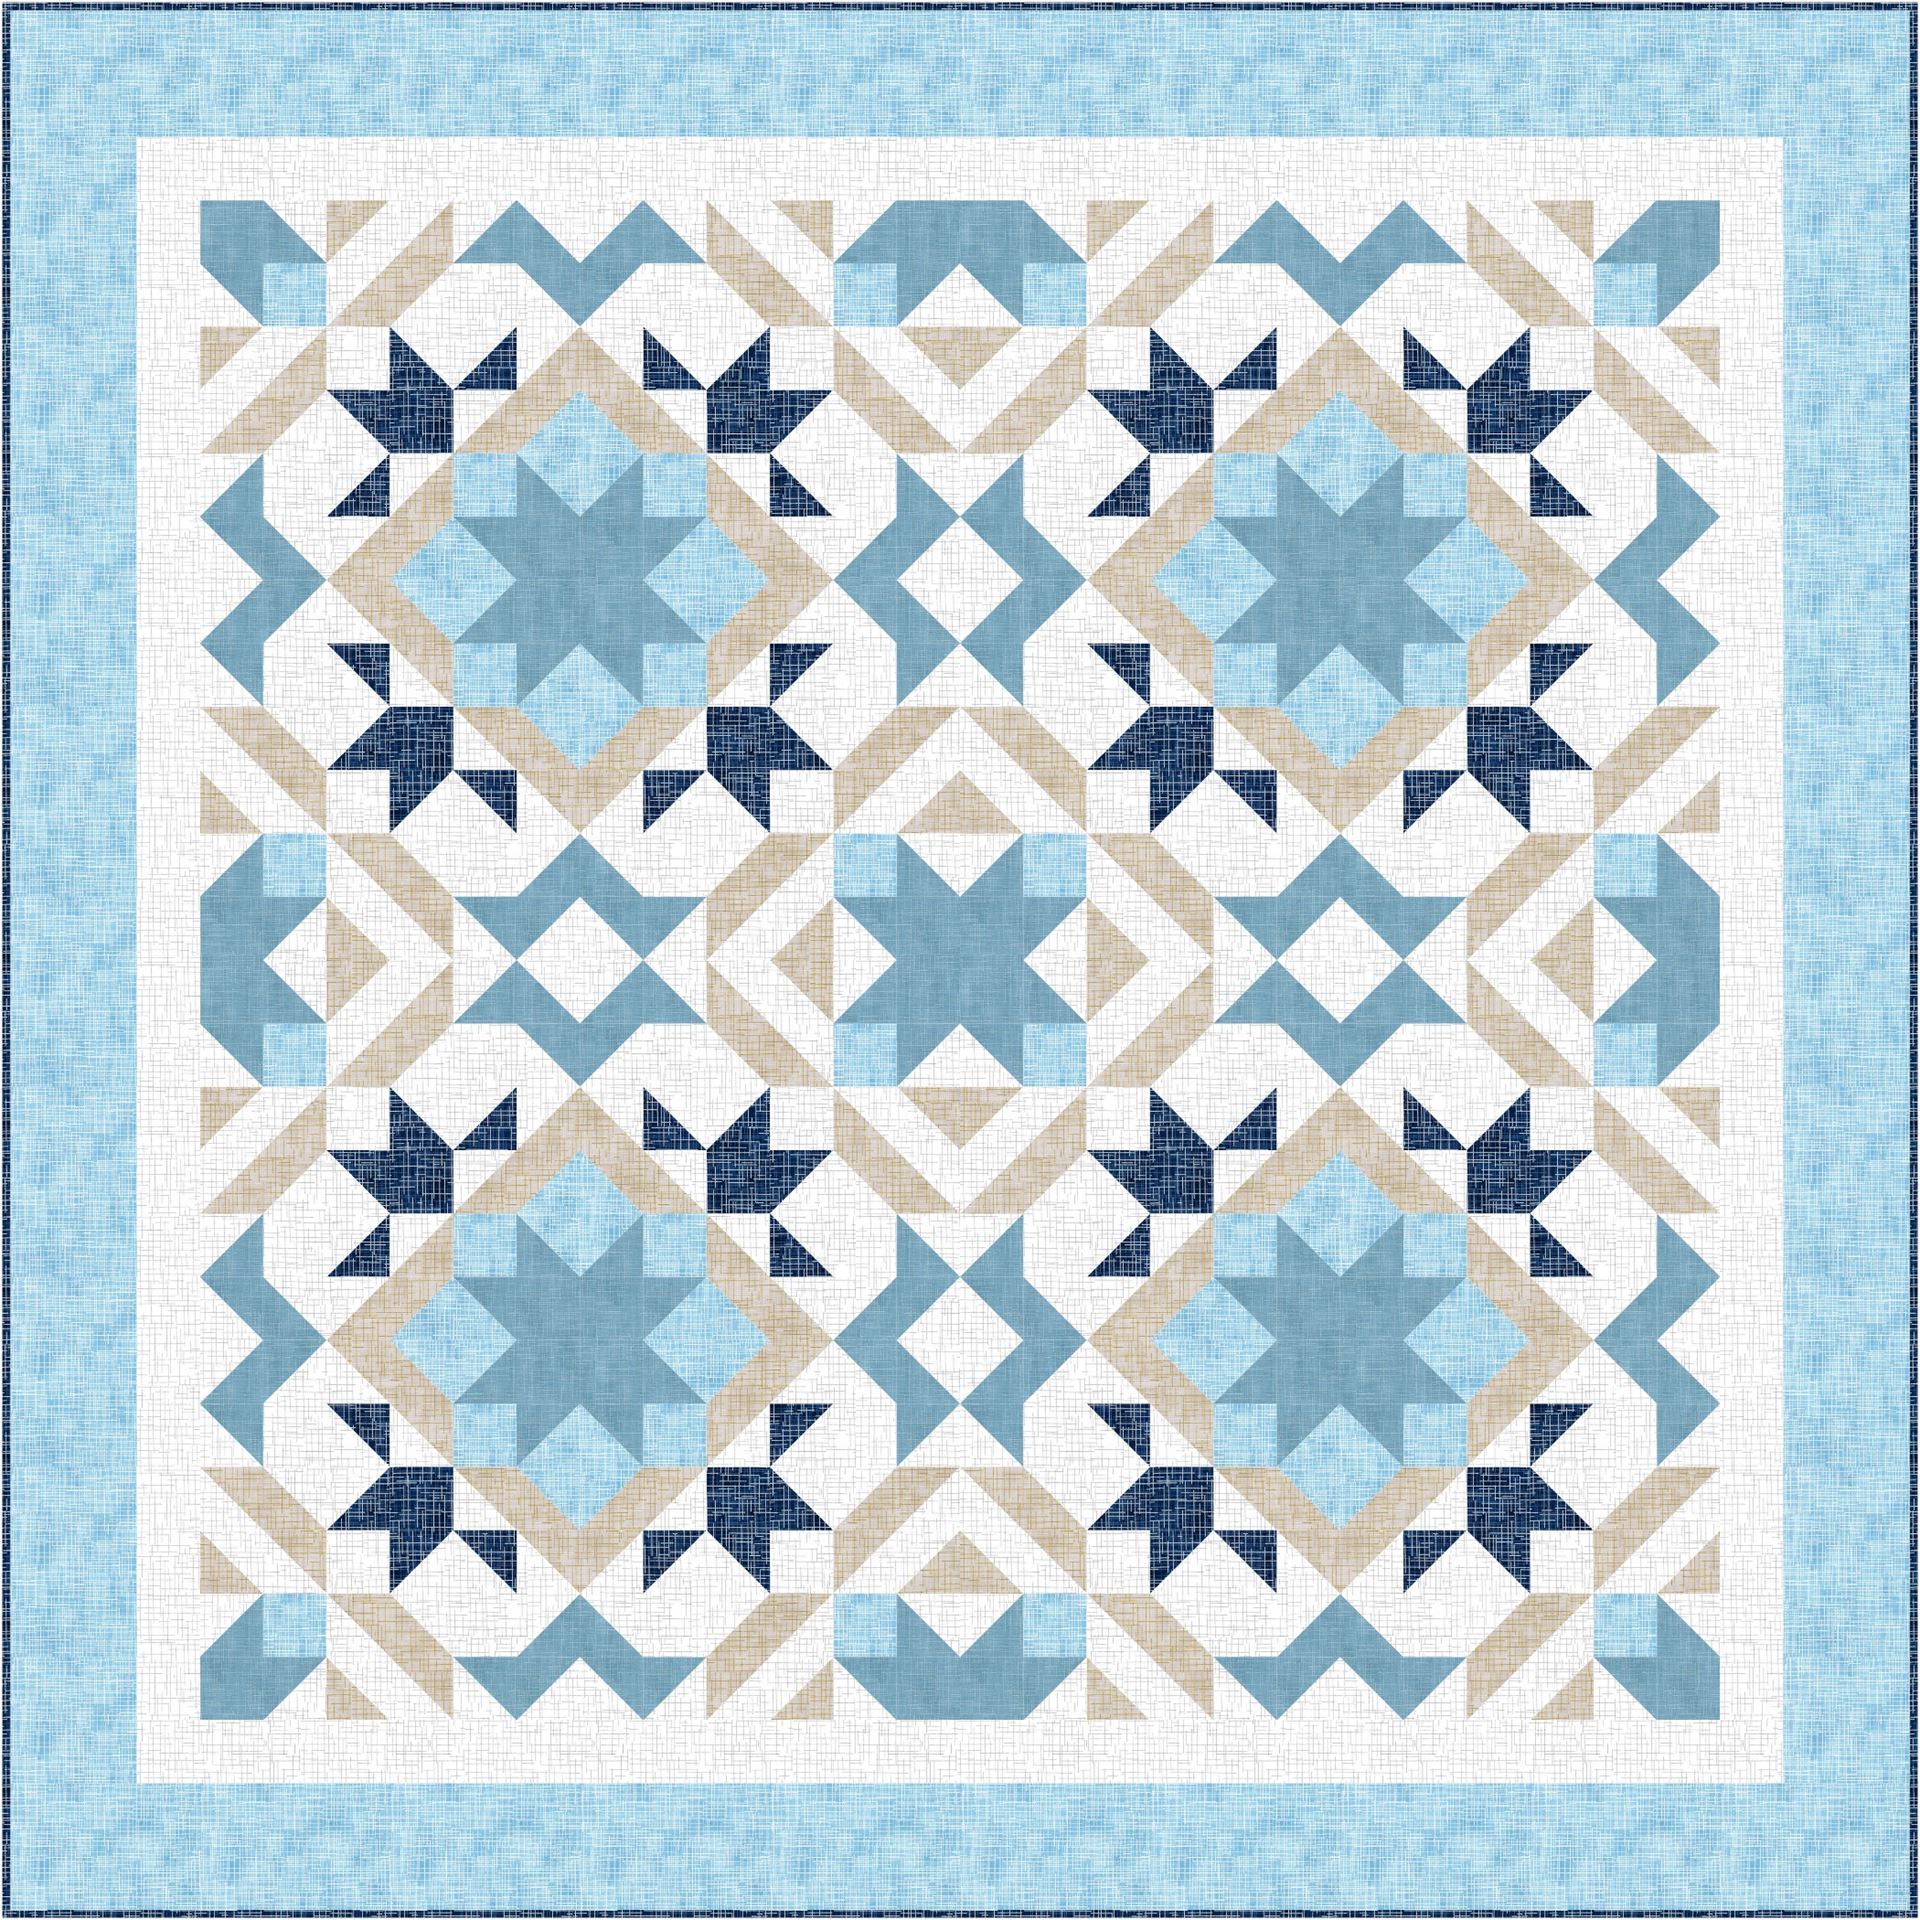
So let’s look at Block 1:

The block looks complicated but when you break it down you will see that is made up of some basic quilting elements such as squares, half-square triangles (HST) and Flying Geese.
It is designed around a central star, with a number of surrounding frames and is laid out on a grid of 12 rows x 12 columns.
The block can easily be made in any multiple of 12 and for the purposes of the QAL, we are making a 24” block so each of the squares on the grid is 2”.
Tip: The big square in the middle could be made from 4 smaller squares or a larger square if you have a nice patterned piece of fabric that you would like to showcase.
To construct the block you could go row by row but an easier way to make this is to look at the block as a giant 9 patch and break it down into identical sub blocks.

You can see from the dividing lines above that the block is made up of 4 identical corners, 4 identical middle pieces and a centre section.

So if we make sub units we are only dealing with a 4 x4 grid or 16 patch at any one time and can assemble them together later to make the complete block.
This will help us figure out how many pieces of each shape we need in the colours we want to use for the quilt. Take out your colouring sheet from step 1 and follow along with me as I break the block down into basic quilting units.
Taking sub block A first, we have the following:

*Don’t worry if that seems like a heck of a lot of HST. With chain piecing and making them 2,4,8 at a time it won’t be so onerous.
Sub block B

Sub block C

We will cover how to make HST in part 3 and Flying Geese in part 4. For now go ahead and cut out your square pieces. The seam allowance for squares is + ½” to the finished size. In our case, each grid square is 2” so 2 ½” x 2 ½” for each square is needed in our block.
The centre square is a 2 grid x 2 grid = 4 + ½” seam allowance and can be made with a 4 ½” square if preferred.
If you are making block 1 go ahead analyse your version of the block from your colouring sheet for each of the corners, middles and centre block and cut out your squares.
If you are not making block 1 but prefer block 2 read on!
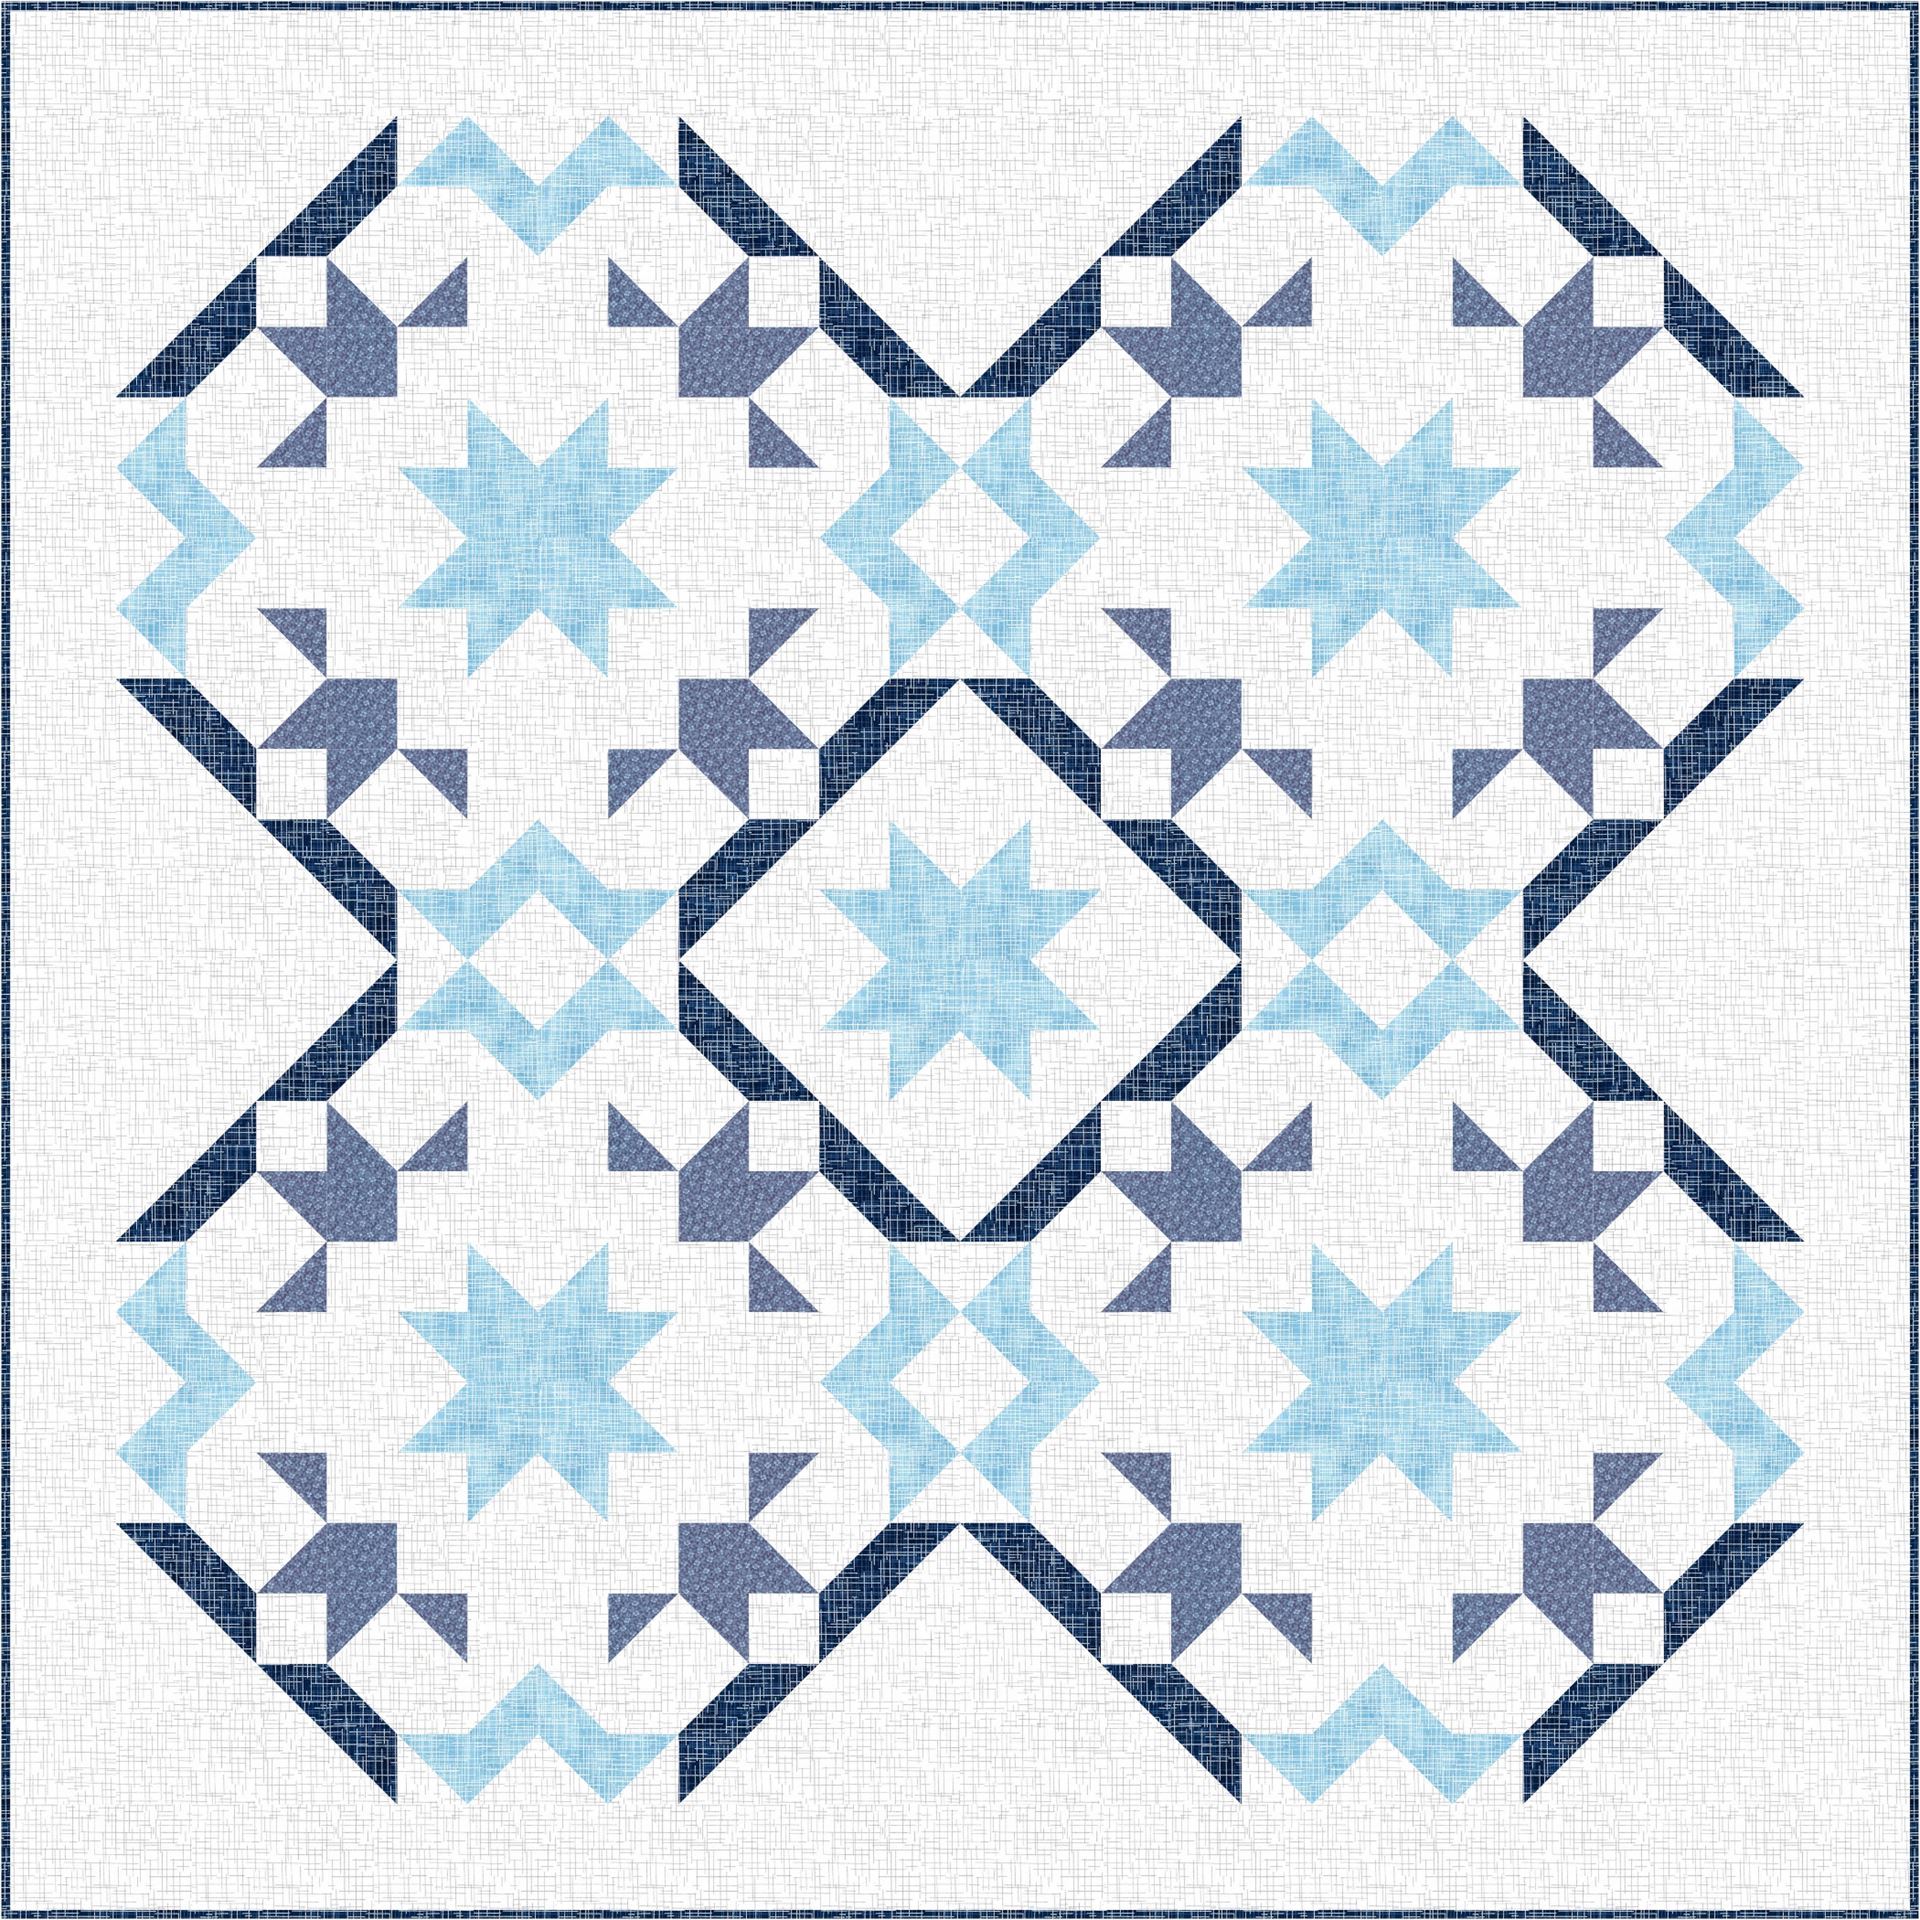
Block 2:
Block 2 has a similar design with a centre star and 4 identical middles but this time to get that repeating pattern when 4 blocks are sewn together there is a modification to one of the corners. So, we have 3 A1 corners, 4 B1 middles, a C centre star and a final A2 corner.

Let’s have a closer look at each of the sub blocks. As with block 1, if we make sub blocks, we are only dealing with a 4 x4 grid or 16 patch at any one time and can assemble them together later to make the complete block.
The centre star block C is the same construction as the star block in block 1 above but the corners A1 and A2 and middles B1 are modified to have more background fabric and use only 4 colours instead of 5.

Take out your colouring sheet from step 1 and follow along with me as I break the block down into its basic quilting units.
Taking sub block A1 first, we have the following:
Sub block A1

Sub block B1

Sub Block C

Sub Block A2

We will cover how to make HST in part 3 and Flying Geese in part 4. For now go ahead and cut out your square and rectangular pieces. The seam allowance for squares and rectangles is + ½” to the finished size.
In our case, each grid square is 2” so for each square 2 ½” x 2 ½” is needed. The star centre square and large Square in the midde B1 blocks is a 2 grid x 2 grid = 4 + ½” seam allowance and can be made with a 4 ½” square if preferred.
The rectangles in sub block A1 are 2” x 6” and 2” x 4” finished so cut 2 ½” x 6 ½” for the longer rectangle and 2 ½” x 4 ½” for the shorter rectangle.
If you are making block 2, go ahead and analyse your version of the block from your colouring sheet for each of the corners, middles and centre block and cut out your squares and rectangles.
Lastly…
I hope you have enjoyed breaking down the blocks with me and can see that a block that seems complicated at first is usually not.
I also hope you are enjoying seeing how to use you own coloured blocks to figure out how many of each shape and colour you need to make your own quilt block or if you are following along using our block colouring in your own fabrics, that’s fun too.
Please join us in two weeks time, when we look at chain piecing and 4 different ways of making Half Square Triangles 1, 2, 4 and 8 at a time, which will be very handy if pulling fabric from scraps or cutting from yardage.
©Ruth Bourke
Mid-Western Branch
