Mid-Western Branch

Click to view our privacy notice

© Irish Patchwork Society 2024

  • 14 Jan 2021 5:00 PM | Anonymous member (Administrator)

    Thank you everyone who joined us for our January meeting where we explored all things unfinished objects and projects half done.  Show and tell from the branch is below in the presentation.  Our next meeting is online on the 12th February.  Until then Happy New Year and happy sewing.


  • 8 Dec 2020 12:16 PM | Anonymous member (Administrator)

    We had a great meeting online on Zoom again last week.  Thanks to all who took part and congratulations to our Quilty Bingo winners.  Wishing all members a safe and merry Christmas and a Happy New Year!


  • 16 Nov 2020 2:45 PM | Anonymous member (Administrator)

    Thanks to all who joined us last Friday for our November meeting held on Zoom. Thanks again to Nikki for her Christmas makes and tour of the new premises for the Sewing Shed.  In case you missed it, our members show and tell can be seen in the presentation below.

    Next month our challenge is : Christmas makes.  Any size, any object, as long as it is Christmas themed!

    Our next meeting is on Friday 4th December.  See you then.

    Ruth


  • 12 Oct 2020 10:27 AM | Anonymous member (Administrator)

    Thanks everyone for a fantastic October Meeting via Zoom.  Without your show and tell we couldn't do this!  

    Next month's challenge is : Bags!  Old or new, large or small, any shape, any size, please share photos along with your show and tell to midwestpatchwork@gmail.com.

    For those that missed our meeting please see below some of the slides presented showing our members show and tell and our Block of the Month Handout here at this link.

    Stay safe and happy sewing!


  • 17 Sep 2020 5:35 PM | Anonymous member (Administrator)

    We had a great turnout for our Zoom meeing.  It was lovely to see everyone again.  Thanks for the wonderful show and tell.  In case you missed it please see some of our presentation below. 

    For the block of the month instructions please see this link for the PDF you can download and print. 

    Looking forward to our next get together in October!
  • 17 Sep 2020 5:27 PM | Anonymous member (Administrator)

    Thank you to all our members who completed a quilt top during our Summer Quilt-A-Long.  Congratulations to Suzanne for winning the jelly roll.  We look forward to seeing what you make with it!

    For convenience I have gathered up the PDF files of the pattern at the bottom of this post and the how to's covering:

    • colouring a block design
    • breaking down the block into basic quilt units
    • basic chain piecing & simple leaders & enders
    • a scant ¼” seam and why it can be handy
    • Half Square Triangles and Flying Geese 4 ways
    • Chain piecing a block and a whole quilt
    • Sew & Flip Method to simplify shapes
    • Leader and Ender projects to make scrap quilts
    • Giant Quilt blocks
    • Borders, backing, binding and hanging sleeve

    I hope that you enjoyed the series and will find the above useful for future projects.

    Stay safe and happpy sewing!

    Ruth Bourke on behalf of the Mid Western branch Comittee 2020

    Previous steps:

    2020 QAL part 1.pdf

    Summer Quilt part 2.pdf

    Summer QAL part 3.pdf

    Summer QAL part 4.pdf

    Summer QAL part 5.pdf

    Summer QAL part 6.pdf

    Summer QAL part 7.pdf

    Summer QAL part 8.pdf

    Math1Squares.pdf

    HST templates 1-6 inch.pdf

    FG templates.pdf


  • 3 Sep 2020 5:18 PM | Anonymous member (Administrator)

    Due to government Covid-19 restrictions we are unable to have an in person meeting in September so we are a Zoom meeting instead.  We will have a Block of the Month, small & fun quick make, Show and tell and monthly challenges.  Please contact midwespatchwork@gmail.com for further details.  

  • 25 Aug 2020 7:32 PM | Anonymous member (Administrator)

    Welcome back to our Summer Quilt-A-Long

    We are onto part 7 and only 1 more part to go!  It feels like the past 12 weeks, since we started our QAL, have just flown by.  This week, we are looking at Star blocks and some free patterns available on the internet that you might want to look up.  We will also be making the centre 8-pointed star in our QAL and assembling our quilt top! 


    Giant Blocks

    Star blocks are some of my favourite quilts to make.  Most especially I like going big with them.  Have you ever made a one block quilt?  Taken a block you love and made as a 60” or 72” size?  It’s a lot of fun.  Here are a few options for you if you have some fat quarters or layer cakes that you would like to use up.

    Moda Love – this is a free pattern from Moda that makes a 72” Star surround block from a layer cake and some yardage.  Paula Rafferty made the giant block, a wall hanging and 2 cushions for a gorgeous set that just glows!  


    So Frosty – I designed this giant block for a Christmas challenge.  It’s one of three blocks in a Christmas Star Quilt and this one I made large as a free pattern for the Christmas blog hop run by Celtic Thistle Stitches.

    Happy Quilting has quite a few QAL’s with Star blocks including this Star Surround block I made as a baby quilt for a gift a few years ago.  She is very generous with her designs and her QAL’s.

    Jeni Baker from In Color Order made a free tutorial: Giant Vintage Star Quilt and Amy Friend from Diary of a Quilter added a scrappy border to it from the leftovers which I love and am going to make one day.  The pattern uses a minimum of 8 fat quarters and ideally 16 to get a multi-coloured star.


    Polka dot chair has a lovely baby quilt.


    Rainbow Rose is available here on the Modern Quilters Ireland Blog using layer cakes or 10” squares to big a big block quilt.

    Making a Block a Giant Quilt Block

    When you look at these designs you can see that they are largely made up of Half Square Triangles (HST), Squares, and Flying Geese on a grid of 4, 8 or 12 rows and columns. 

    To size up a block, first decide how big you want to go.  36”-40” makes a nice baby quilt.  60” a nice lap quilt and 72” with some borders a nice bed quilt.

    To make our QAL block a Giant block for example, we look at the number of rows and columns and can see that it is 12 rows x 12 columns so a number divisible by 12 will work perfectly for us. 

    To make a 60” block our grid squares will need to be 60/12=5” finished.  To make a 72” block 72/12=6” finished. 

    We learned in parts 3&4 what to cut to end up with our desired finished size depending on the method we want to use, so, if you want to size up a block or design your own block, the reference sheets are there for you to go back to. 

    Quilt-A-Long


    So, onto our QAL!  In the last part we completed the middles of the blocks.  This week we are onto the centre star and assembling the block. 

    The construction for the centre star is the same for both versions of our block: Block 1 and Block 2.

    Our C section is 4 rows by 4 columns or a 16 patch.  We have squares for the corners and the centre and Flying Geese for the star points. 

    Arrange as follows and sew into rows.  Then sew the rows together to make the centre C block.  Make 1 if you are making 1 quilt block or 4 C units if you are making the 4 blocks for the Quilt top. 

    Now we have our A, B and C blocks, it’s time to assemble our quilt. 

    Block 1   

    If you are making 1 block lay out the pieces as per the image and sew the units into rows A-B-A, B-C-B and A-B-A.  Then sew the rows together to complete the block.  

    If you are making the 4 block quilt top you can make 4 quilt blocks and sew the blocks together, or you can lay out the units 6 x 6 to chain piece the quilt top together by sewing into rows as shown.

     Then sew the rows together and a secondary pattern will appear.  


    Block 2:

    For block 2 we have a modification to the block to make a repeating pattern.  The block goes together in rows A1-B1-A1, B1-C-B1, A1-B1-A2.


    You can sew these 9 units together to make a block and then sew the 4 blocks together, or you can lay the units out in a 6 x 6 grid and chain piece them together as below.


     Option for 1 block quilt

    If you are making an item using only 1 block of the Block 2 design, then instead of A2 in the bottom corner make an A1 unit to have a symmetrical block.


    Lay out the pieces as per the image and sew the units into rows A1-B1-A1, B1-C-B1 and A1-B-A1.  Then sew the rows together to complete the block.

    If you missed any of the earlier parts of our QAL, you will find the instructions on our branch page at www.irishpatchwork.com.

    Please join us in two weeks time, when we look at borders, backing, binding and quilting options. 

    Thanks for joining us,

    Stay safe and happy sewing!

    ©Ruth Bourke

    Mid-Western Branch

  • 10 Aug 2020 4:39 PM | Anonymous member (Administrator)

    Welcome back to our Summer Quilt-A-Long


    We are onto part 6!  Time is flying and I hope all are enjoying the fabulous sunny weather we are finally having.

    If you missed any of the earlier parts we have covered so far: 

    • colouring our block design
    • breaking the two different block options down into basic quilt units
    • chain piecing those units with basic leaders & enders
    • how many squares you can get from a fat quarter and a yard of fabric
    • a scant ¼”seam and why it can be handy
    • Half Square Triangles and Flying Geese 4 ways with tables for different sizes
    • Chain Piecing a block and a whole quilt top

    This week we are looking further at the sew and flip method and leaders and enders, and lastly making the middle sections of our block.  If you missed the earlier parts of our QAL, you will find the instructions on our branch page at www.irishpatchwork.com.

    The Sew and Flip method

    We looked at the sew and flip method in step 4 as one possible method to use when making Flying Geese.   This method is very handy if you want to use different fabrics for the sky and geese. 

    It can also be used for other shapes and is used a lot in the animal designs of Elizabeth Hartman and Lorna McMahon of Sew Fresh Quilts.

    It works really well for the noses, ears and the spines of the hedgehogs in the cushions above.  I had a lot of fun using it to design a baby quilt of a Koala for the River of Dreams Heart Quilts a few years ago.   

    It can be used for more than animal quilts and is a very handy thing to use to simplify the making of quilt blocks. 

    For example, in our Quilt-A-Long the sew and flip method could be used for these shapes outlined in black instead of Half Square Triangles (HST):

    This only works if your fabrics in the shape are the same.  If you are working from scraps using different fabrics of the same colour, you will have to use HST.

    Shape 1 as Sew and Flip Method

    Shape 1 covers 4 squares, 2 rows and 2 columns.  In our QAL we are making a 24” block so each square is 2”.  Shape 1 then needs to finish up at 4” square.  To make it as 1 piece we need to treat it as a Half Square Triangle (HST) with the tips added on as a sew and flip unit. 

    Remember to make HST two at a time we cut two squares Finished Size +1” and 8 at time we double it (See part 3 of this QAL for details on how to make HST).  E.g. for a 4” finished HST we start with a square of 5” for both fabrics for two at a time or 10” squares for 8 at a time.  You will also need 2.5” squares for the corner fabrics.

     When you have your HST made, add a 2.5” square to the corner.  Mark a diagonal line from corner to corner as shown in blue.  Sew a scant ¼” seam along this marked line. Cut ¼” away from the sewn line marked above in orange.  Press and flip open.  Repeat for the other side.  

    You will have some scraps to throw away or keep for leader and ender projects.  More on those below. 

    Shape 2 as Sew and Flip Method

    This second shape is very like a Flying Goose unit. You start off the same way as making a flying goose. When you add the second square you mark the diagonal differently, so it flips open towards the bottom right instead of the top right to make a diagonal slanting piece. 

    If you want it to slant in the other direction you will have to make another with the squares positioned like this.

    Leaders and Enders

    We looked at leaders and enders in basic terms earlier,  as scrap fabric that could be used to start a chain of piecing, but it can be used to sew your offcuts from the sew and flip units into Half Square Triangles (HST) for a scrappy project later on.   

     If HST are not your thing, you can make a leader and an ender project with squares. 

    Left over 2.5” binding strips or jelly rolls can easily be cut to 2.5” squares as can spare charm squares. 

    Square blocks like these make for a nice and simple quilt that can be a fun way to use up scraps.

    Bonnie Hunter has written two books on leader and ender projects and features these on her blog Quiltville.   Adventures with Leaders and Enders and More Adventures in Leaders and Enders can be found on Amazon and there are fun Pinterest groups that do challenges using them here and here.  Some are very complex, but I guess if you are organised and well prepared it can make short work of repetitive sewing.

    Quilt-A-Long

    So, onto our QAL!  In the last part we completed the corners of the blocks.  This week we are onto the middle sections. 
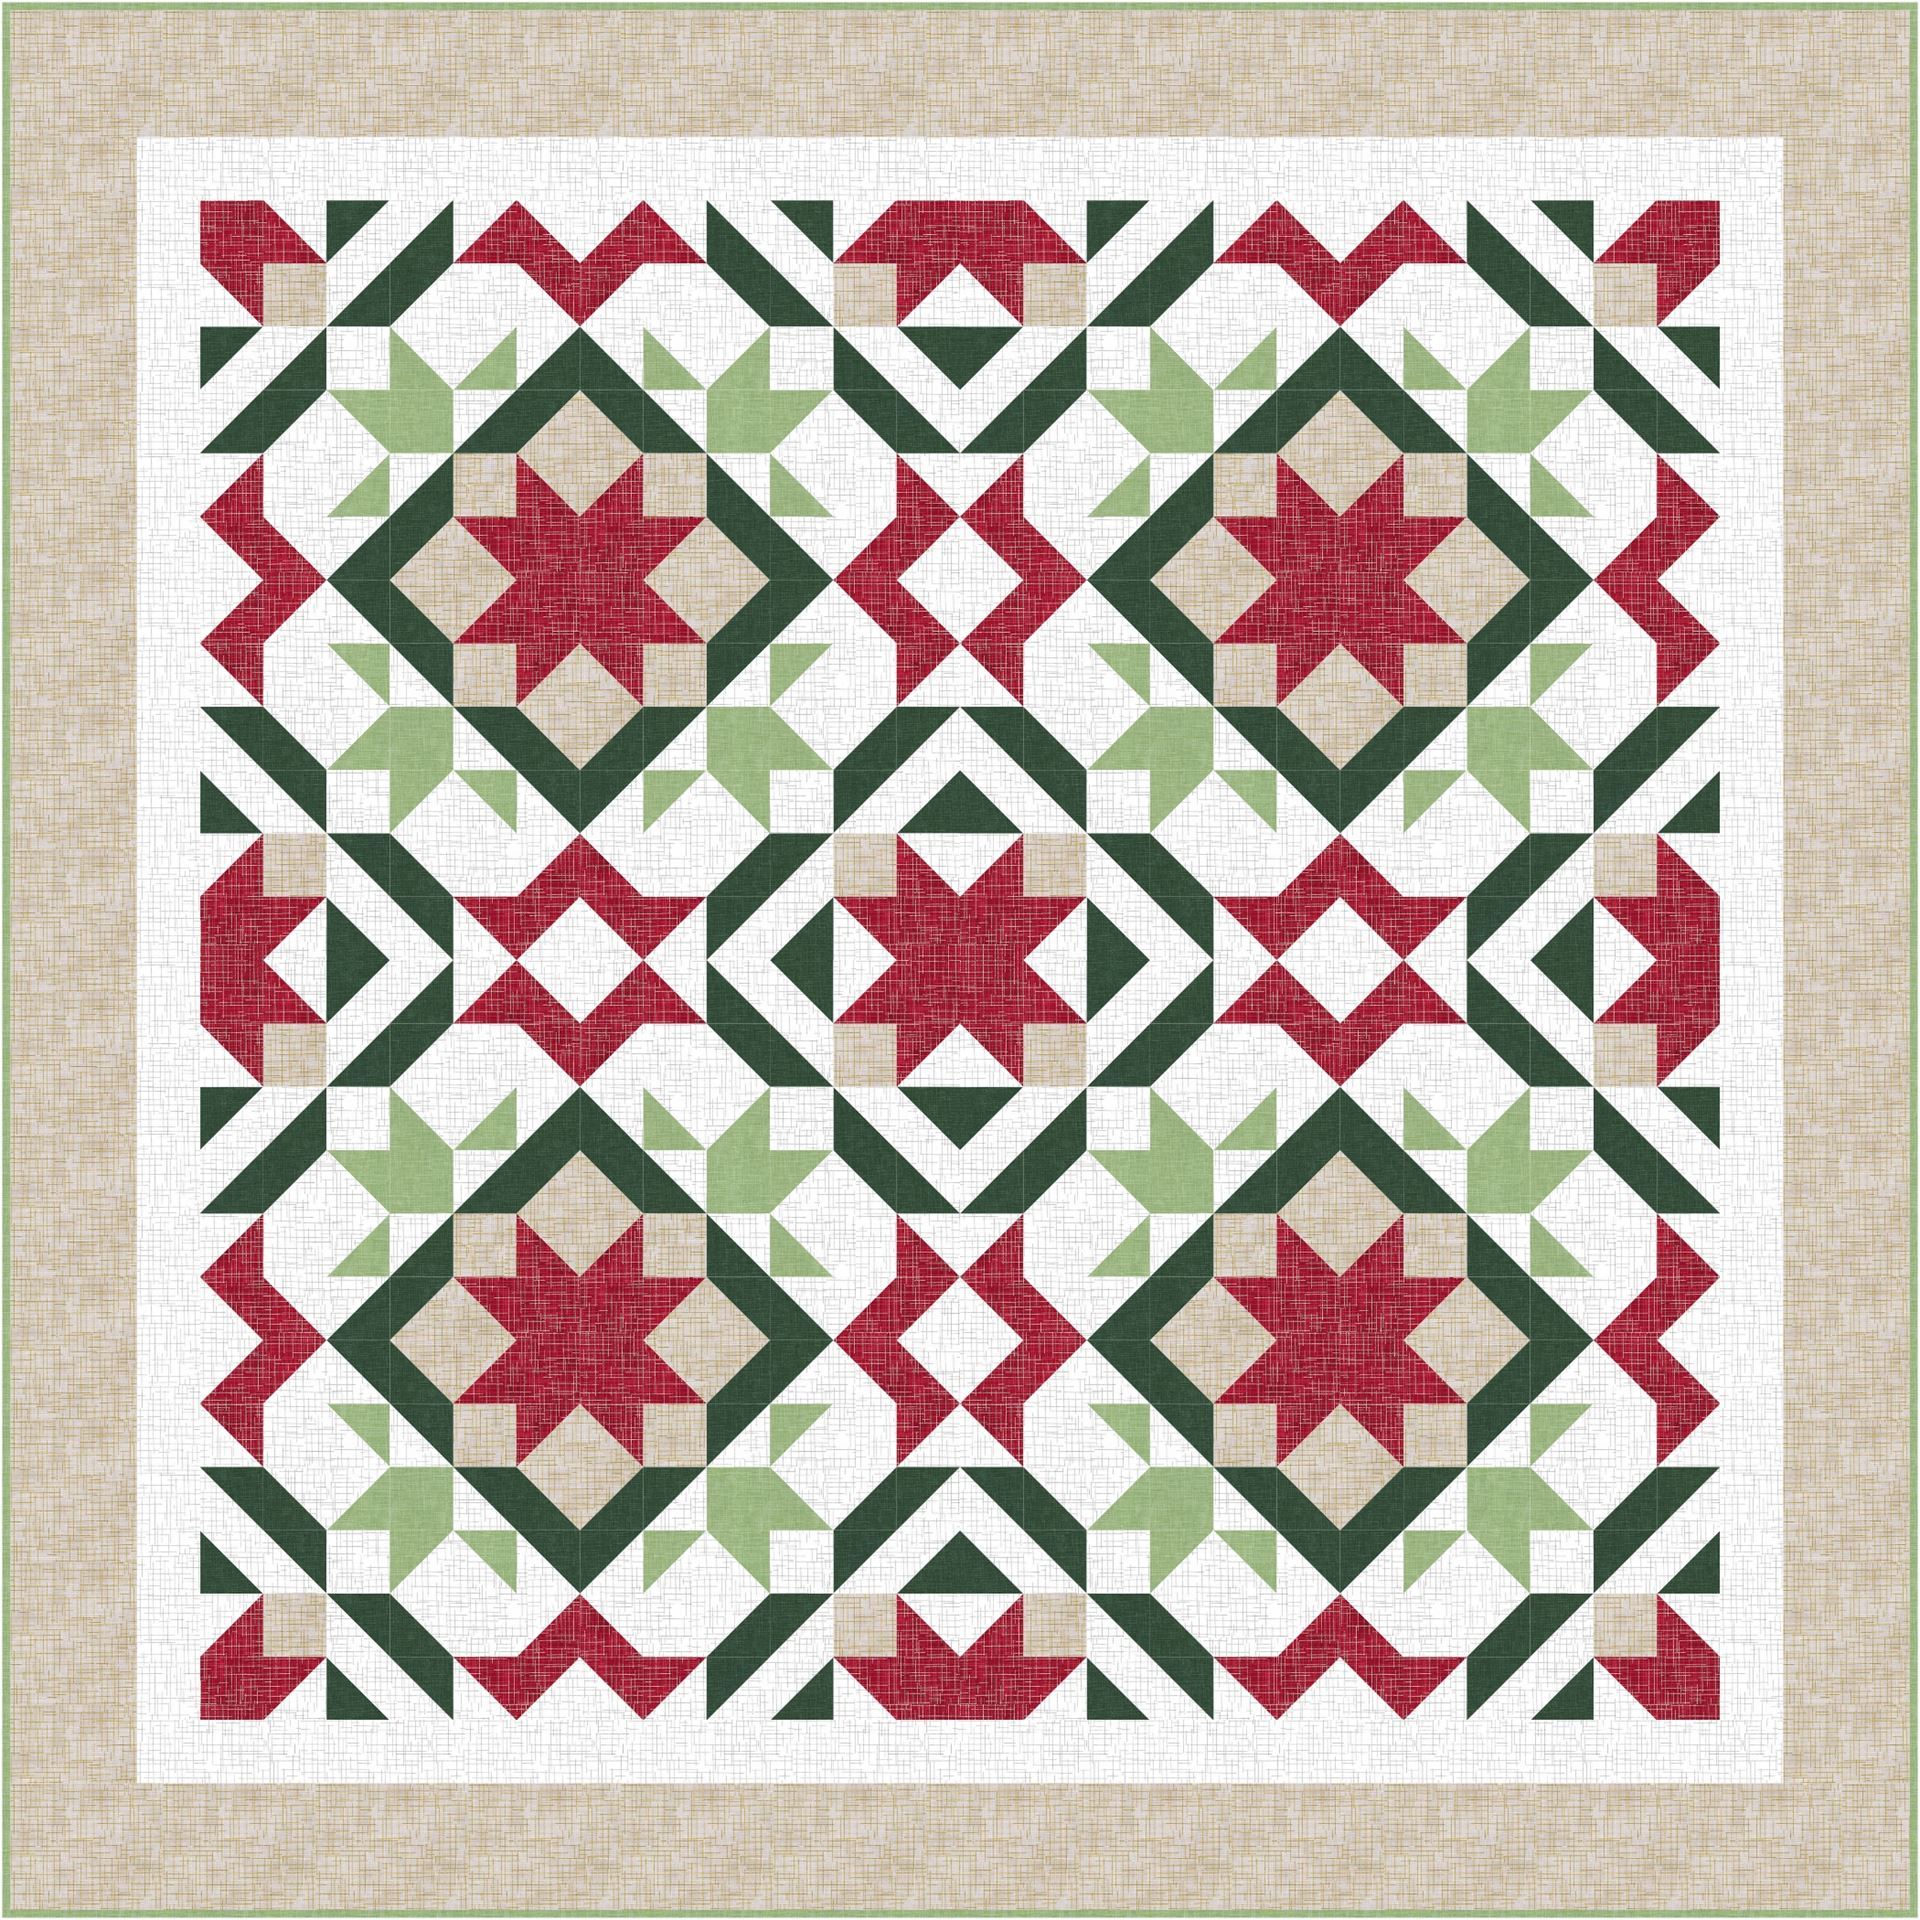
    Block 1:

    Our B sections are 4 rows by 4 columns or a 16 patch but made up of a mix of flying geese and HST.

    Lay out your pieces in rows and sew toghether as per the diagram below:                                                                               

    Then sew the rows together.  Make 4 for each block, 16 in total. 
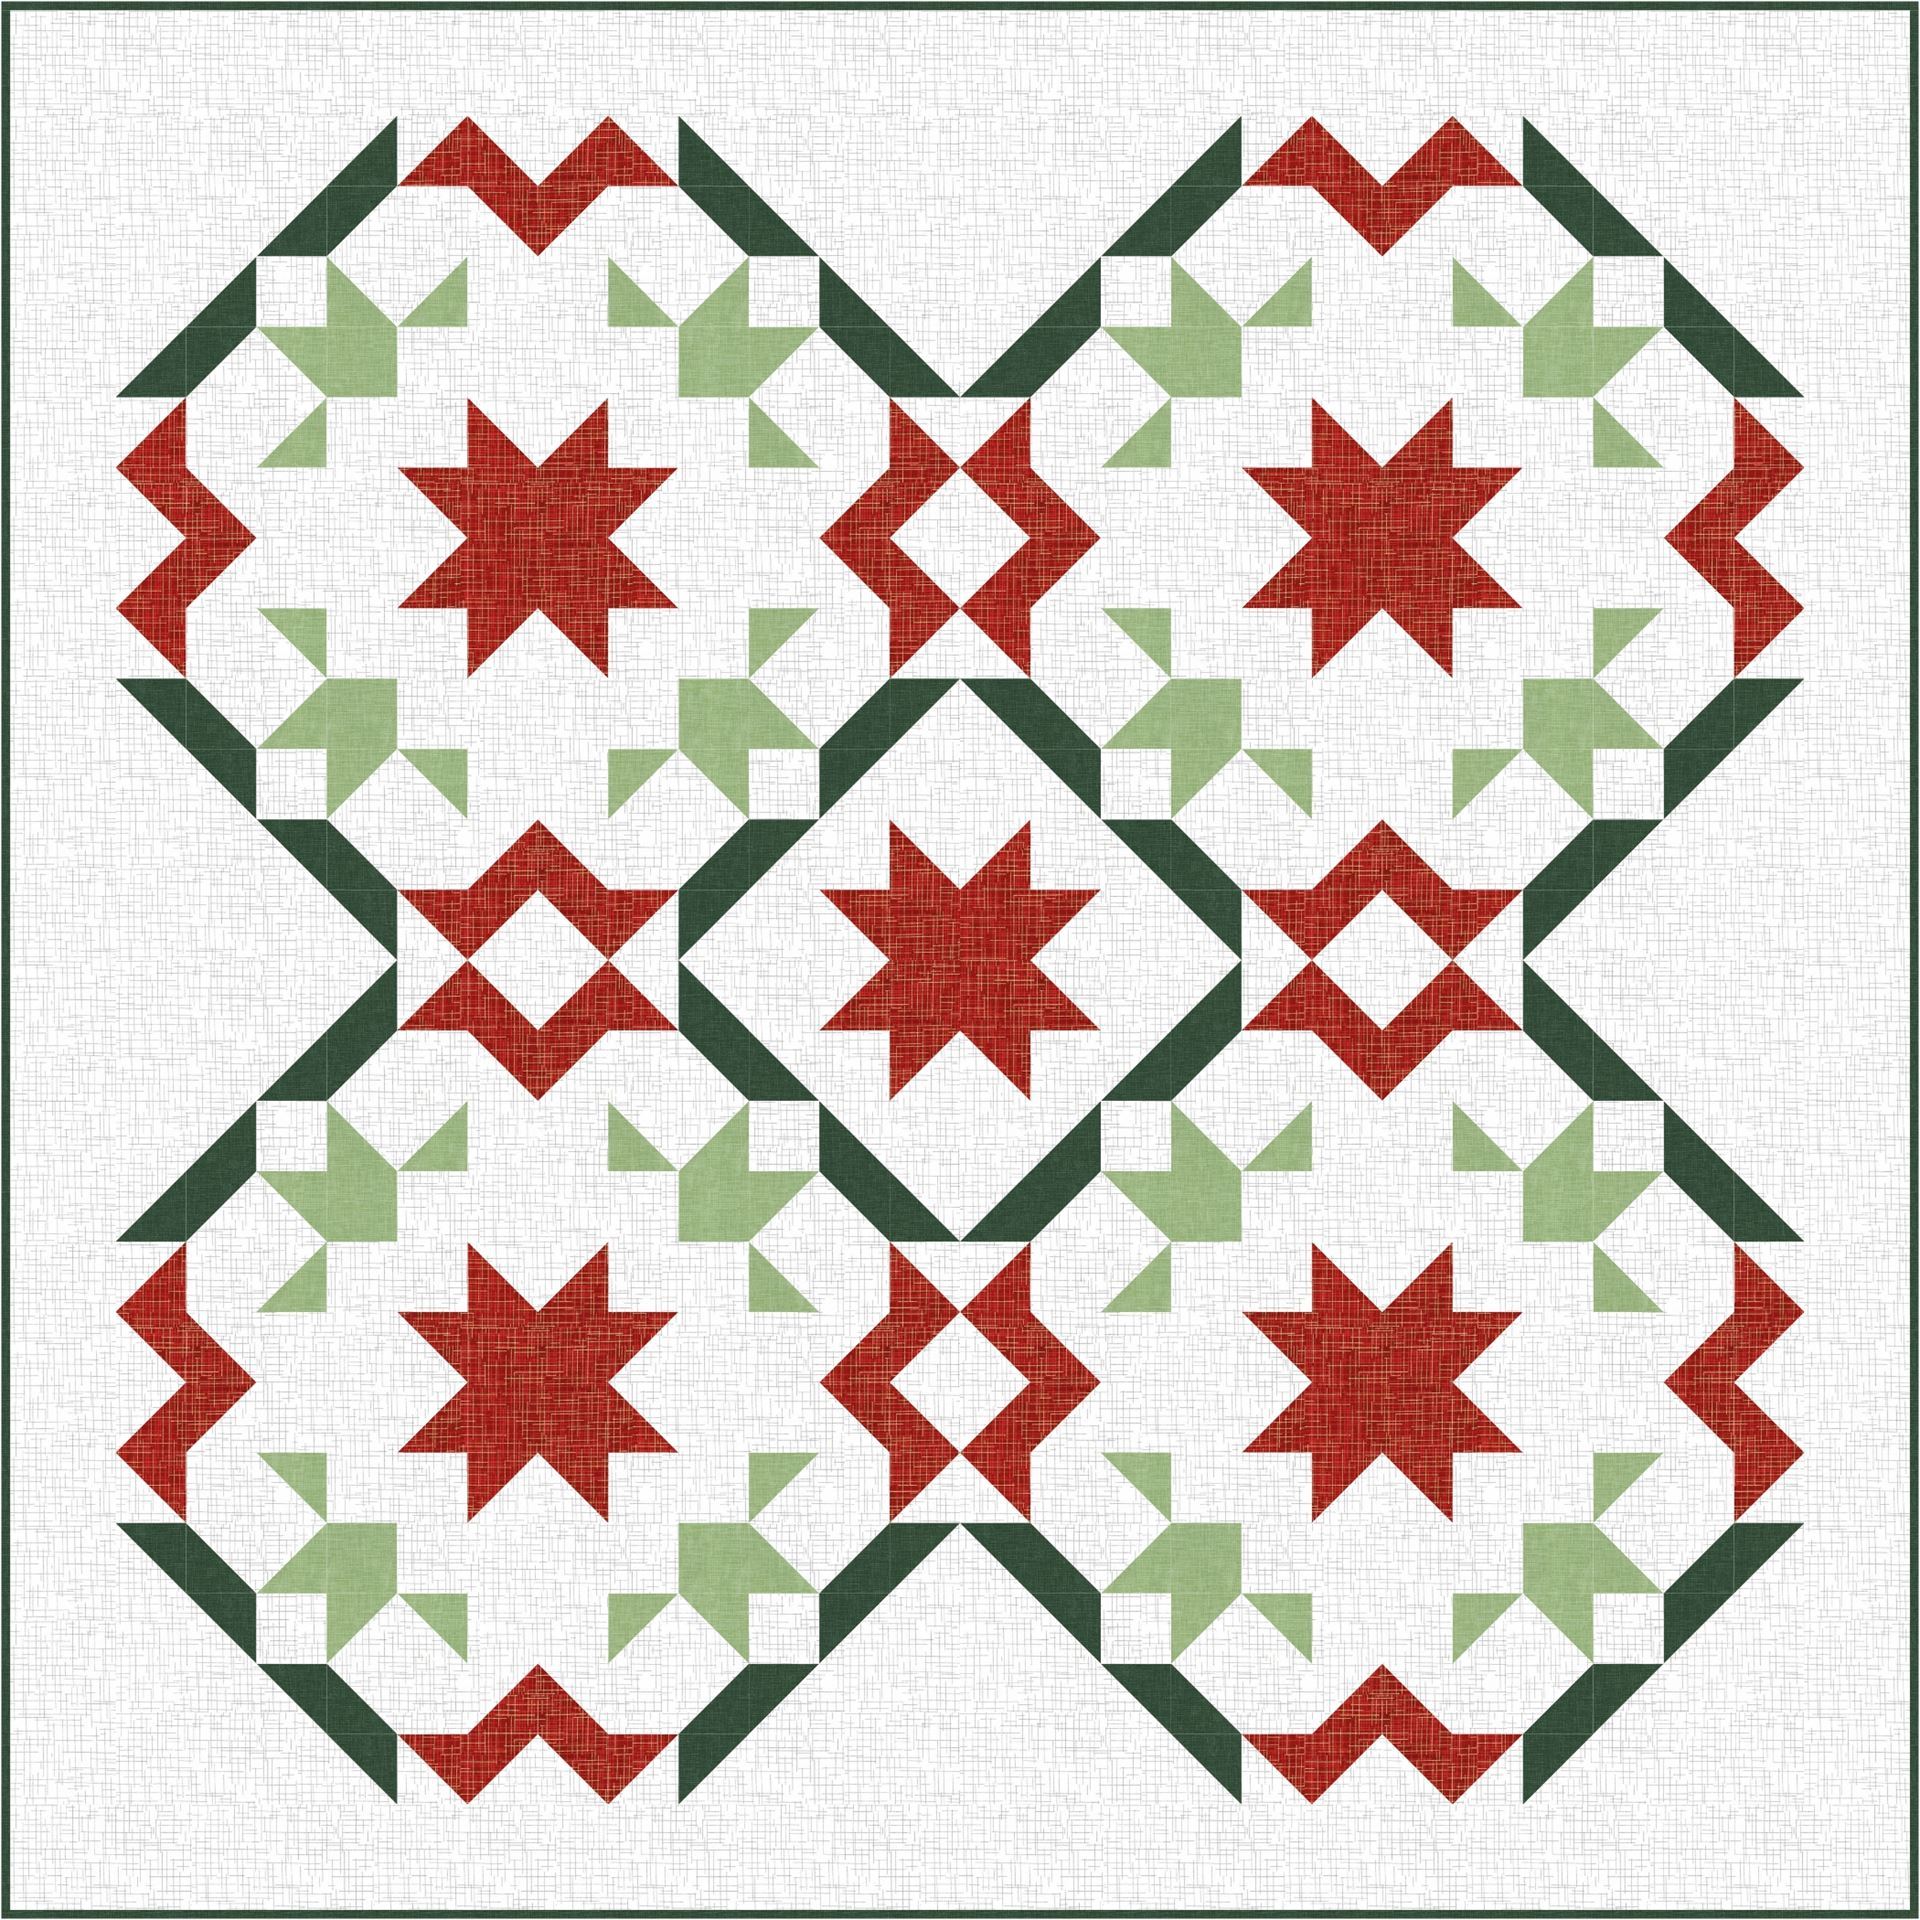
    Block 2:

    Our B1 sections are also 4 rows by 4 columns or a 16 patch and made up of a mix of flying geese, HST and squares.

    To start with sew the HST to the Background squares as shown.


    Then layout your pieces, as shown below, and sew togheter in rows.   

    Sew the rows together.  Make 4 for each block, 16 in total.


    Please join us in two weeks time, when we look at star blocks and complete our block.

    Thanks for joining us,

    Stay safe and happy sewing!

    ©Ruth Bourke

    Mid-Western Branch

  • 28 Jul 2020 2:52 PM | Anonymous member (Administrator)
    Welcome back to our Summer Quilt-A-Long

    So far, in our Summer QAL we have looked at:

    • colour for our block design
    • breaking the two different block options down into basic quilt units
    • chain piecing those units
    • leaders & enders
    • how many squares you can get from a fat quarter and a yard of fabric
    • a scant ¼” seam and why it can be handy
    • Half Square Triangles and Flying Geese 4 ways with tables for different sizes 


    This week we are going to piece the corners of our blocks and talk about using chain piecing to make very short work of sewing our blocks and how chain piecing can be used on a quilt, to quickly sew a quilt top together.  If you missed the earlier parts of our QAL, you will find the instructions at the links below or on our branch page at www.irishpatchwork.com. 

    Step 1: Introduction, Design and colouring on 01/06/20

    Step 2: Breaking down the block into basic quilt units on 15/06/20

    Step 3: Half Square Triangles (HST) 29/06/20

    Step 4: Flying Geese 13/06/20

    Step 5: Chain Piecing the Corners

    Block 1:

    Block 1 has 4 identical corners shown here as A.  As we discovered earlier, A can be treated as a 16 patch or 4x4 block with 4 rowns and 4 columns.  

    There are four corners per block and if you are making the quilt top four blocks so 16 corners in total.

    You can make each corner one at a time or you can use Chain Piecing to sew the corners together in one go. 

    To Chain Piece the A corners, begin by laying out your units into piles according to the following diagram:

    Sew the pieces in column 1 to column 2 by sewing the 4 pieces on the top pile and then the next 4 pieces under those until you have all of column 1 sewn to column 2. 

    Don’t snip the thread between the pieces of each corner but you can snip the thread between the corners themselves.  There is no need to press seams at this stage.

     Tip: The trick with chain piecing is to keep the pieces in the right orientation.  Some people like to add a piece a masking tape to the top unit with the column number to keep things in order.


    Repeat to add column 3 to the above column1+2.


    Finally do the same for the last column.  Again, snip the threads between each corner to make 16 identical corners with each row loosely connected with thread by rows. 

    Now is the time to press the seams.  This version of the block has so many seams coming together that pressing the seams open is a good idea.  If that isn’t your preference for piecing and you prefer to nest your seams (I hold my hand up as a nester!) then now is the time to press the 1st and 3rd row to one side and the 2nd and 4th to the opposite to allow the seams to nest when placed right sides together.


    Sew each row together as below to make your corners for Block 1. 


    Block 2:

    Block 2 has 3 identical corners shown here as A1 and 1 corner A2 that has an extra colour to make a star when all 4 blocks are sewn together. 

    Similar to block 1 above the A2 corners in block 2 can be treated as a 16 patch or 4x4 block with 4 rows and 4 columns.  

    If you are making the quilt top with 4 complete blocks, you will need 12 A1 corners and 4 A2 corners.

    As above, you can make each corner one at a time or you can use Chain Piecing to sew the corners together in one go. 

    To Chain Piece the four A2 corners begin by laying out your units into piles according to the following diagram:

    Following the instructions above sew the units in column 1 to column 2 and then add column 3 and finally column 4 to make 4 rows. 


    Finally sew the rows together to complete the A2 blocks.


    The A1 blocks are a little different as they have squares and rectangles.  To make the A1 blocks we are going to chain piece the 9 patch and add the top and sidepieces. 

    Layout your A1 blocks as per the diagram. 


    Sew the long and short rectangles to the HST as shown and set aside.


    To make the remaining section of the block as a 9 patch sew the squares and HST in column 1 to column 2 and then sew to column 3 using the chain piecing method described.


    Sew the rows together to complete the 9 patch. 


    Sew the short rectangular pieces to the left hand side of the 9 patch and finally the long rectangular piece to the top of the 9 patch to complete the block A1.


    That takes care of our corners! 


    Chain piecing a quilt

    The same principal applies to a quilt consisting of blocks or pieces that can be sewn into rows.

    Sew the pieces, column 1 to column 2 and then pieces in column 3 to the previous etc. to make rows of blocks.  Then sew each row together, to complete the quilt top. 


    Please join us in two weeks time, when we look at assembling the middle sections and have fun with some patterns for leader and ender projects that we can make while Chain Piecing.

    Thanks for joining us,

    Stay safe and happy sewing!

    ©Ruth Bourke, Mid-Western Branch

Powered by Wild Apricot Membership Software