Welcome back to our Summer Quilt-A-Long
So far, in our Summer QAL we have looked at:
- colour for our block design
- breaking the two different block options down into basic quilt units
- chain piecing those units
- leaders & enders
- how many squares you can get from a fat quarter and a yard of fabric
- a scant ¼” seam and why it can be handy
- Half Square Triangles and Flying Geese 4 ways with tables for different sizes
This week we are going to piece the corners of our blocks and talk about using chain piecing to make very short work of sewing our blocks and how chain piecing can be used on a quilt, to quickly sew a quilt top together. If you missed the earlier parts of our QAL, you will find the instructions at the links below or on our branch page at www.irishpatchwork.com.
Step 1: Introduction, Design and colouring on 01/06/20
Step 2: Breaking down the block into basic quilt units on 15/06/20
Step 3: Half Square Triangles (HST) 29/06/20
Step 4: Flying Geese 13/06/20
Step 5: Chain Piecing the Corners
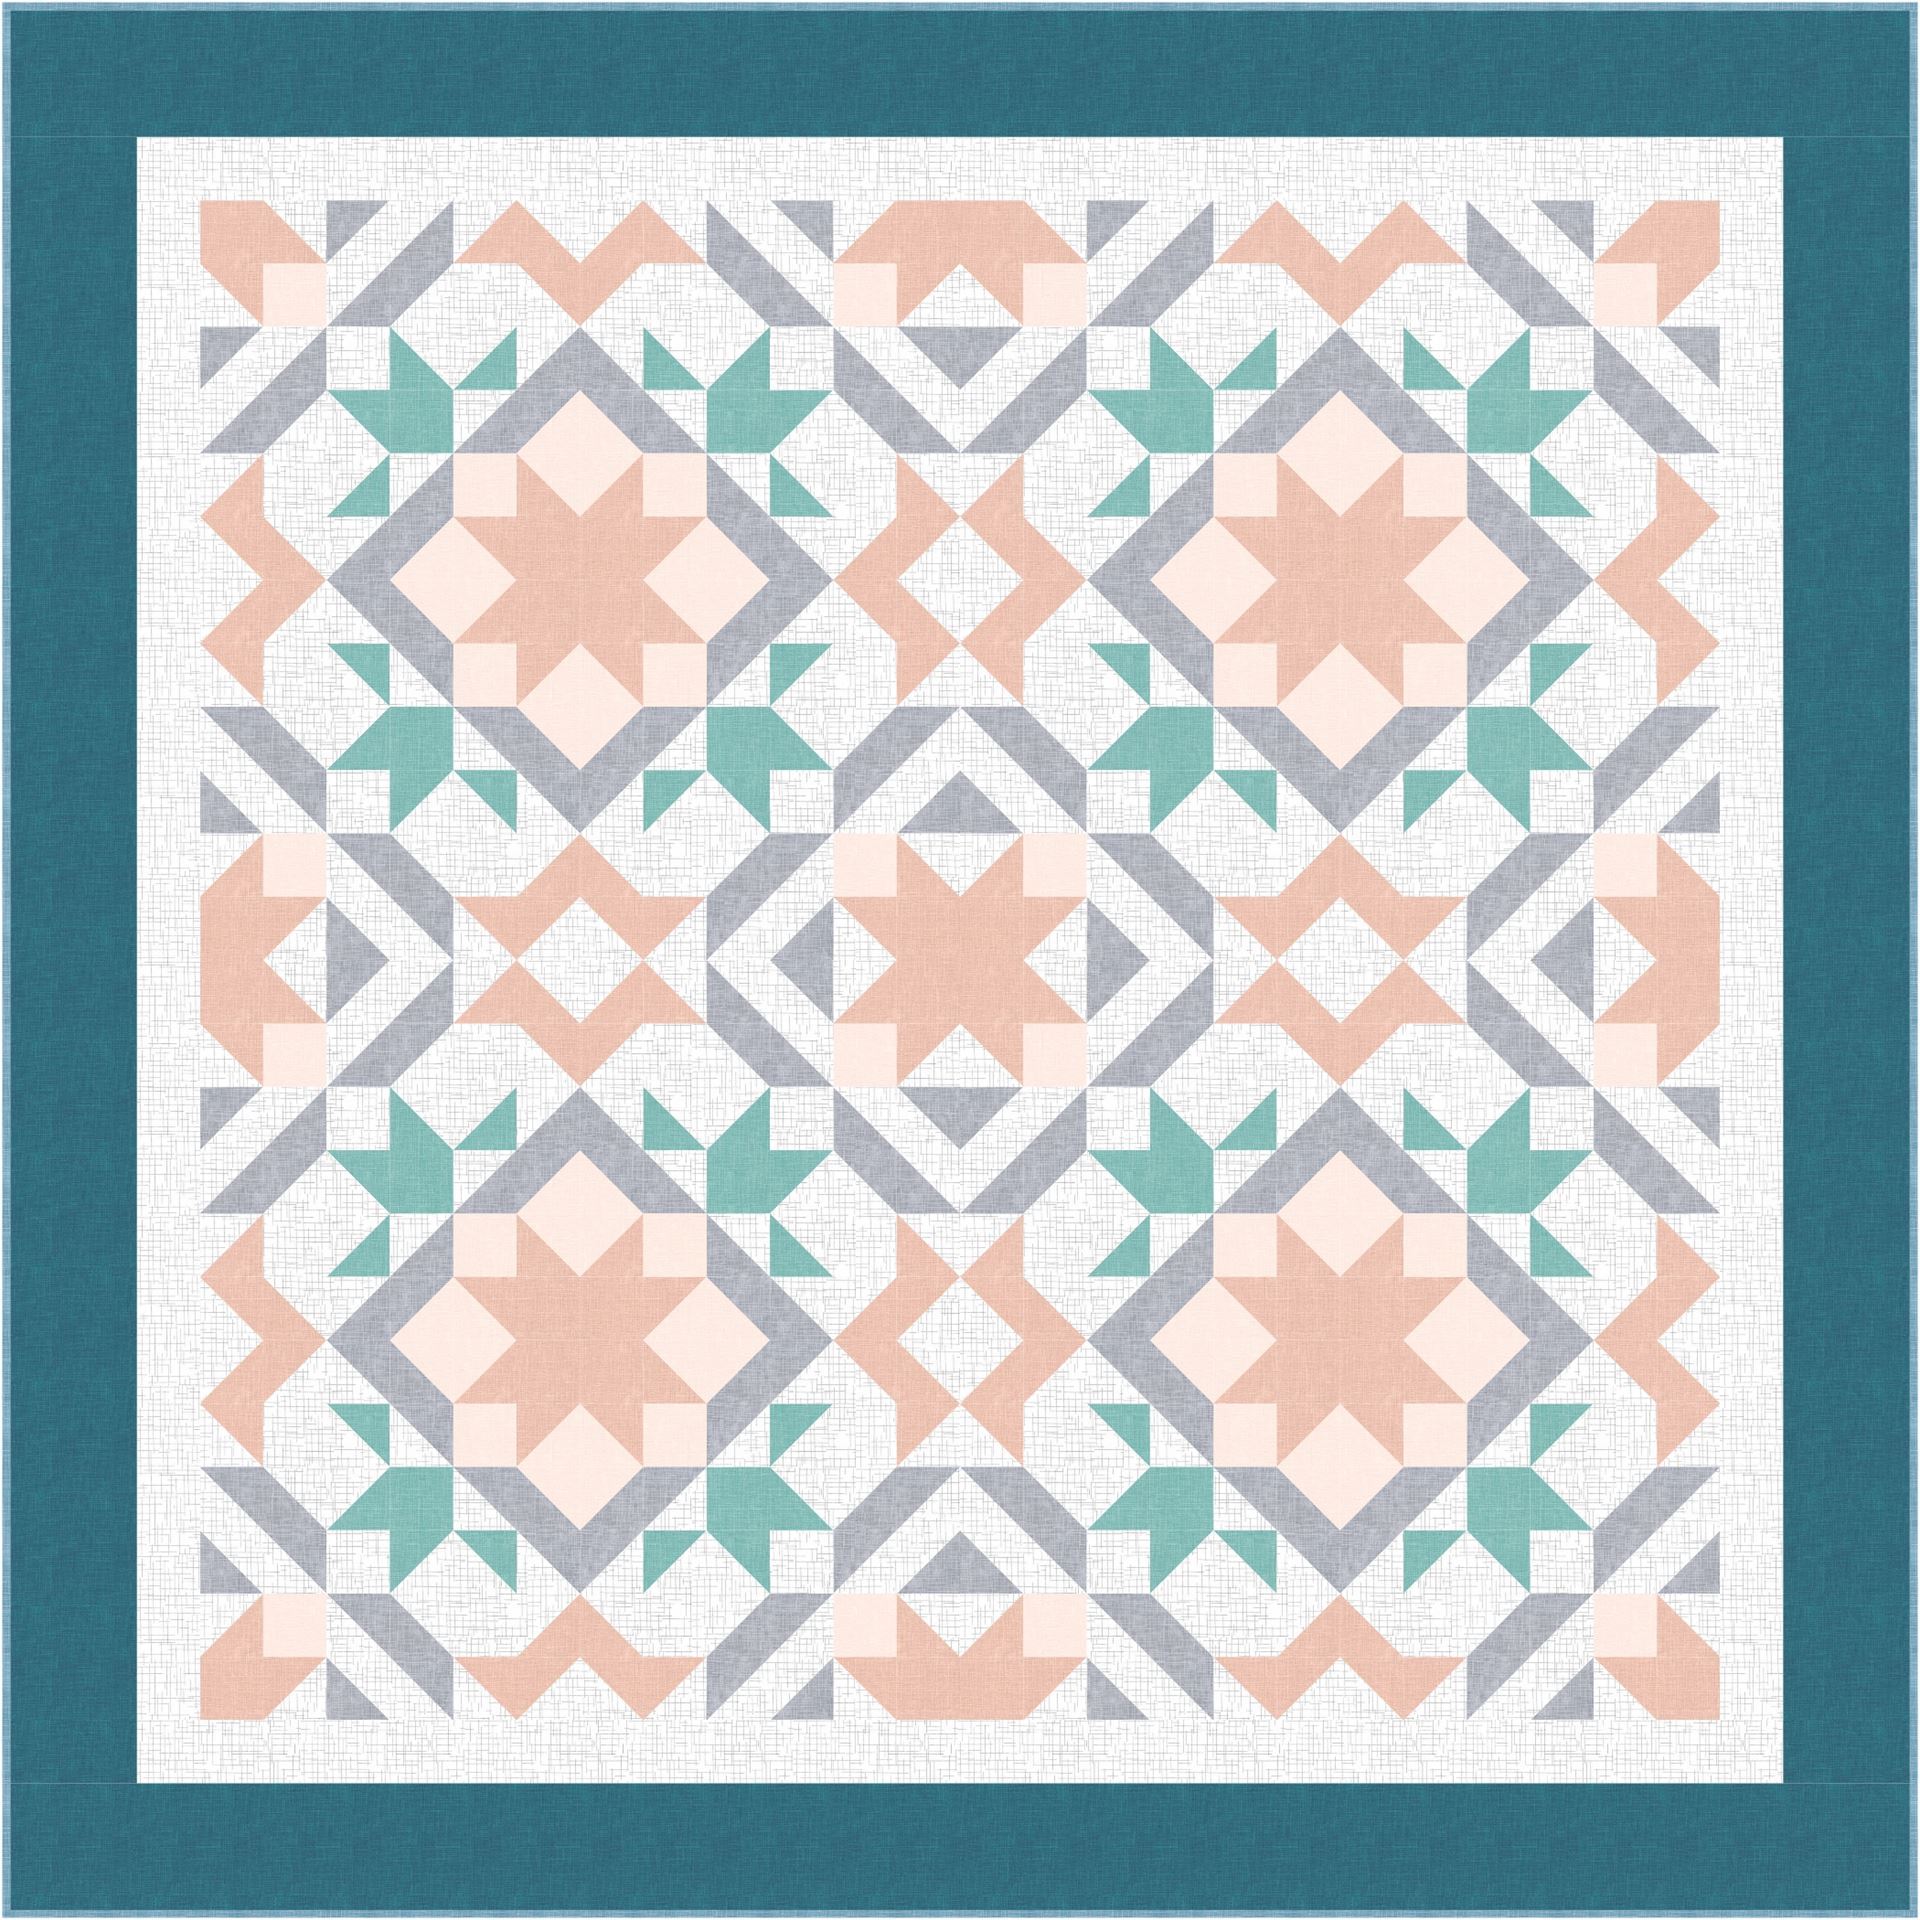
Block 1:
Block 1 has 4 identical corners shown here as A. As we discovered earlier, A can be treated as a 16 patch or 4x4 block with 4 rowns and 4 columns.
There are four corners per block and if you are making the quilt top four blocks so 16 corners in total.
You can make each corner one at a time or you can use Chain Piecing to sew the corners together in one go.
To Chain Piece the A corners, begin by laying out your units into piles according to the following diagram:
 Sew the pieces in column 1 to column 2 by sewing the 4 pieces on the top pile and then the next 4 pieces under those until you have all of column 1 sewn to column 2.
Don’t snip the thread between the pieces of each corner but you can snip the thread between the corners themselves. There is no need to press seams at this stage.
Tip: The trick with chain piecing is to keep the pieces in the right orientation. Some people like to add a piece a masking tape to the top unit with the column number to keep things in order.

Repeat to add column 3 to the above column1+2.
 Finally do the same for the last column. Again, snip the threads between each corner to make 16 identical corners with each row loosely connected with thread by rows.
Now is the time to press the seams. This version of the block has so many seams coming together that pressing the seams open is a good idea. If that isn’t your preference for piecing and you prefer to nest your seams (I hold my hand up as a nester!) then now is the time to press the 1st and 3rd row to one side and the 2nd and 4th to the opposite to allow the seams to nest when placed right sides together.

Sew each row together as below to make your corners for Block 1.
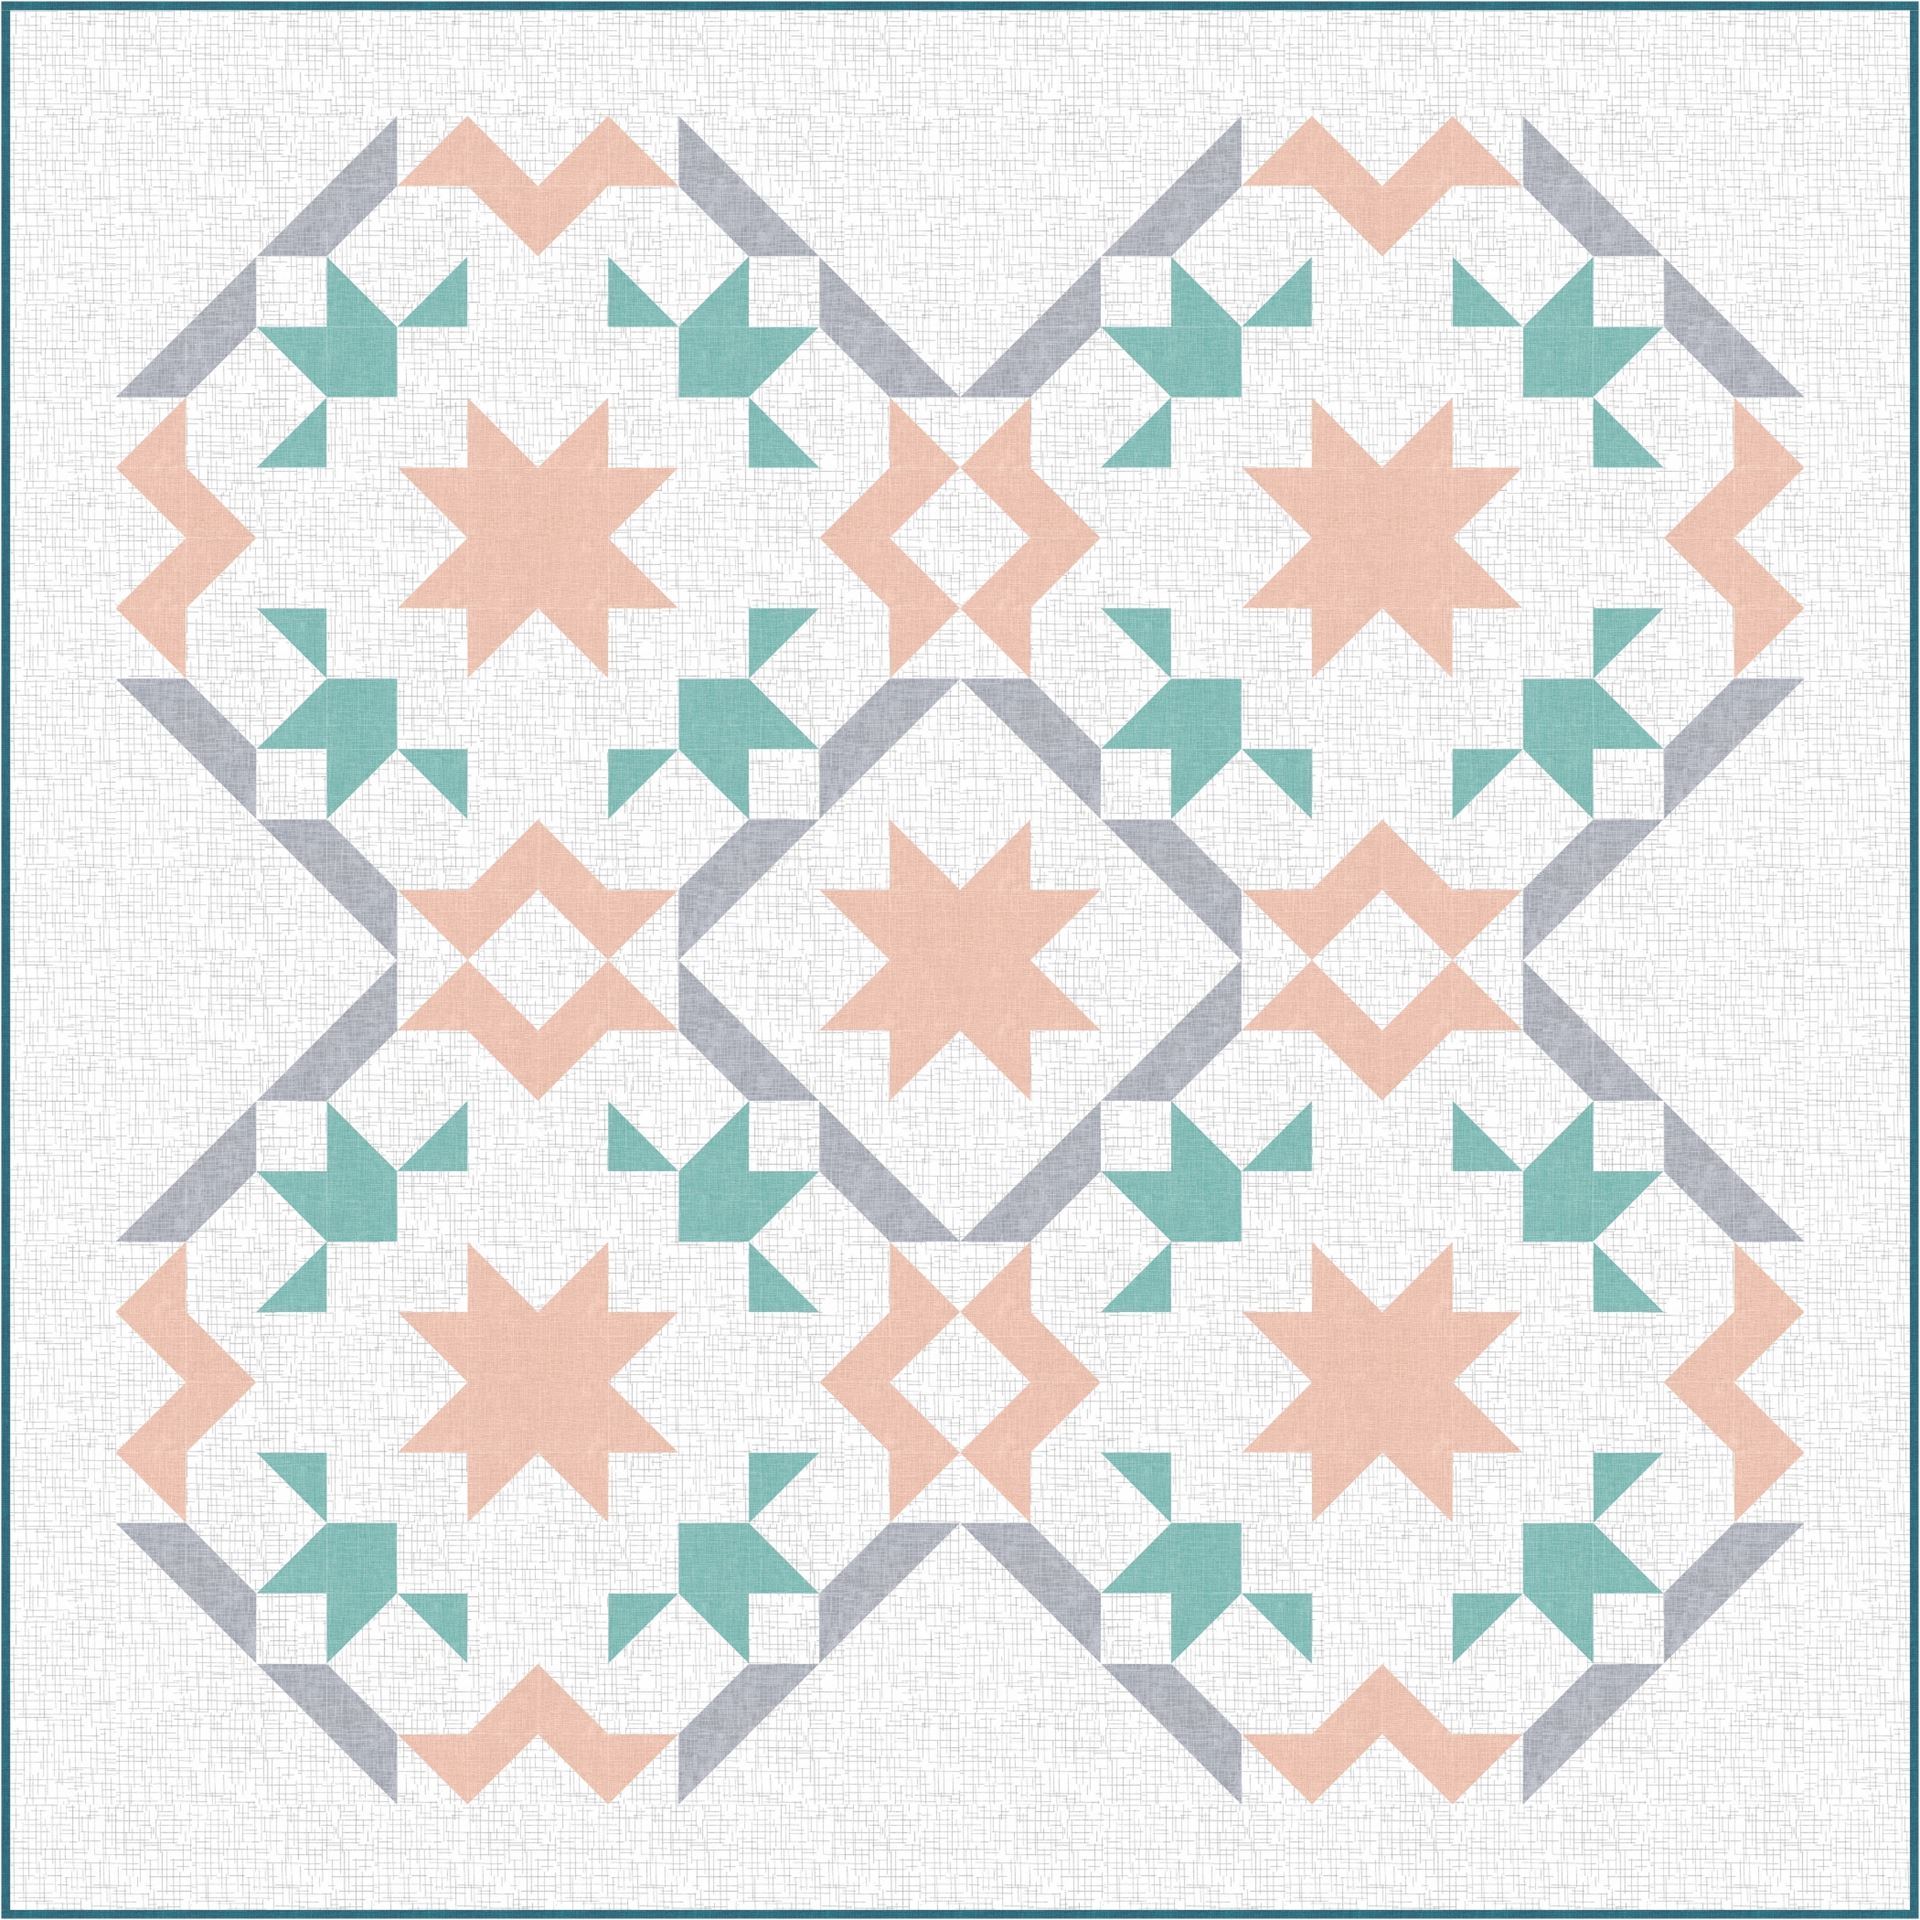
Block 2:
 Block 2 has 3 identical corners shown here as A1 and 1 corner A2 that has an extra colour to make a star when all 4 blocks are sewn together.
Similar to block 1 above the A2 corners in block 2 can be treated as a 16 patch or 4x4 block with 4 rows and 4 columns.
If you are making the quilt top with 4 complete blocks, you will need 12 A1 corners and 4 A2 corners.
As above, you can make each corner one at a time or you can use Chain Piecing to sew the corners together in one go.
 To Chain Piece the four A2 corners begin by laying out your units into piles according to the following diagram:
Following the instructions above sew the units in column 1 to column 2 and then add column 3 and finally column 4 to make 4 rows.

Finally sew the rows together to complete the A2 blocks.
The A1 blocks are a little different as they have squares and rectangles. To make the A1 blocks we are going to chain piece the 9 patch and add the top and sidepieces.
Layout your A1 blocks as per the diagram.

Sew the long and short rectangles to the HST as shown and set aside.
To make the remaining section of the block as a 9 patch sew the squares and HST in column 1 to column 2 and then sew to column 3 using the chain piecing method described.

Sew the rows together to complete the 9 patch. 
Sew the short rectangular pieces to the left hand side of the 9 patch and finally the long rectangular piece to the top of the 9 patch to complete the block A1.

That takes care of our corners!
Chain piecing a quilt
 The same principal applies to a quilt consisting of blocks or pieces that can be sewn into rows.
Sew the pieces, column 1 to column 2 and then pieces in column 3 to the previous etc. to make rows of blocks. Then sew each row together, to complete the quilt top.
Please join us in two weeks time, when we look at assembling the middle sections and have fun with some patterns for leader and ender projects that we can make while Chain Piecing.
Thanks for joining us,
Stay safe and happy sewing!
©Ruth Bourke, Mid-Western Branch
