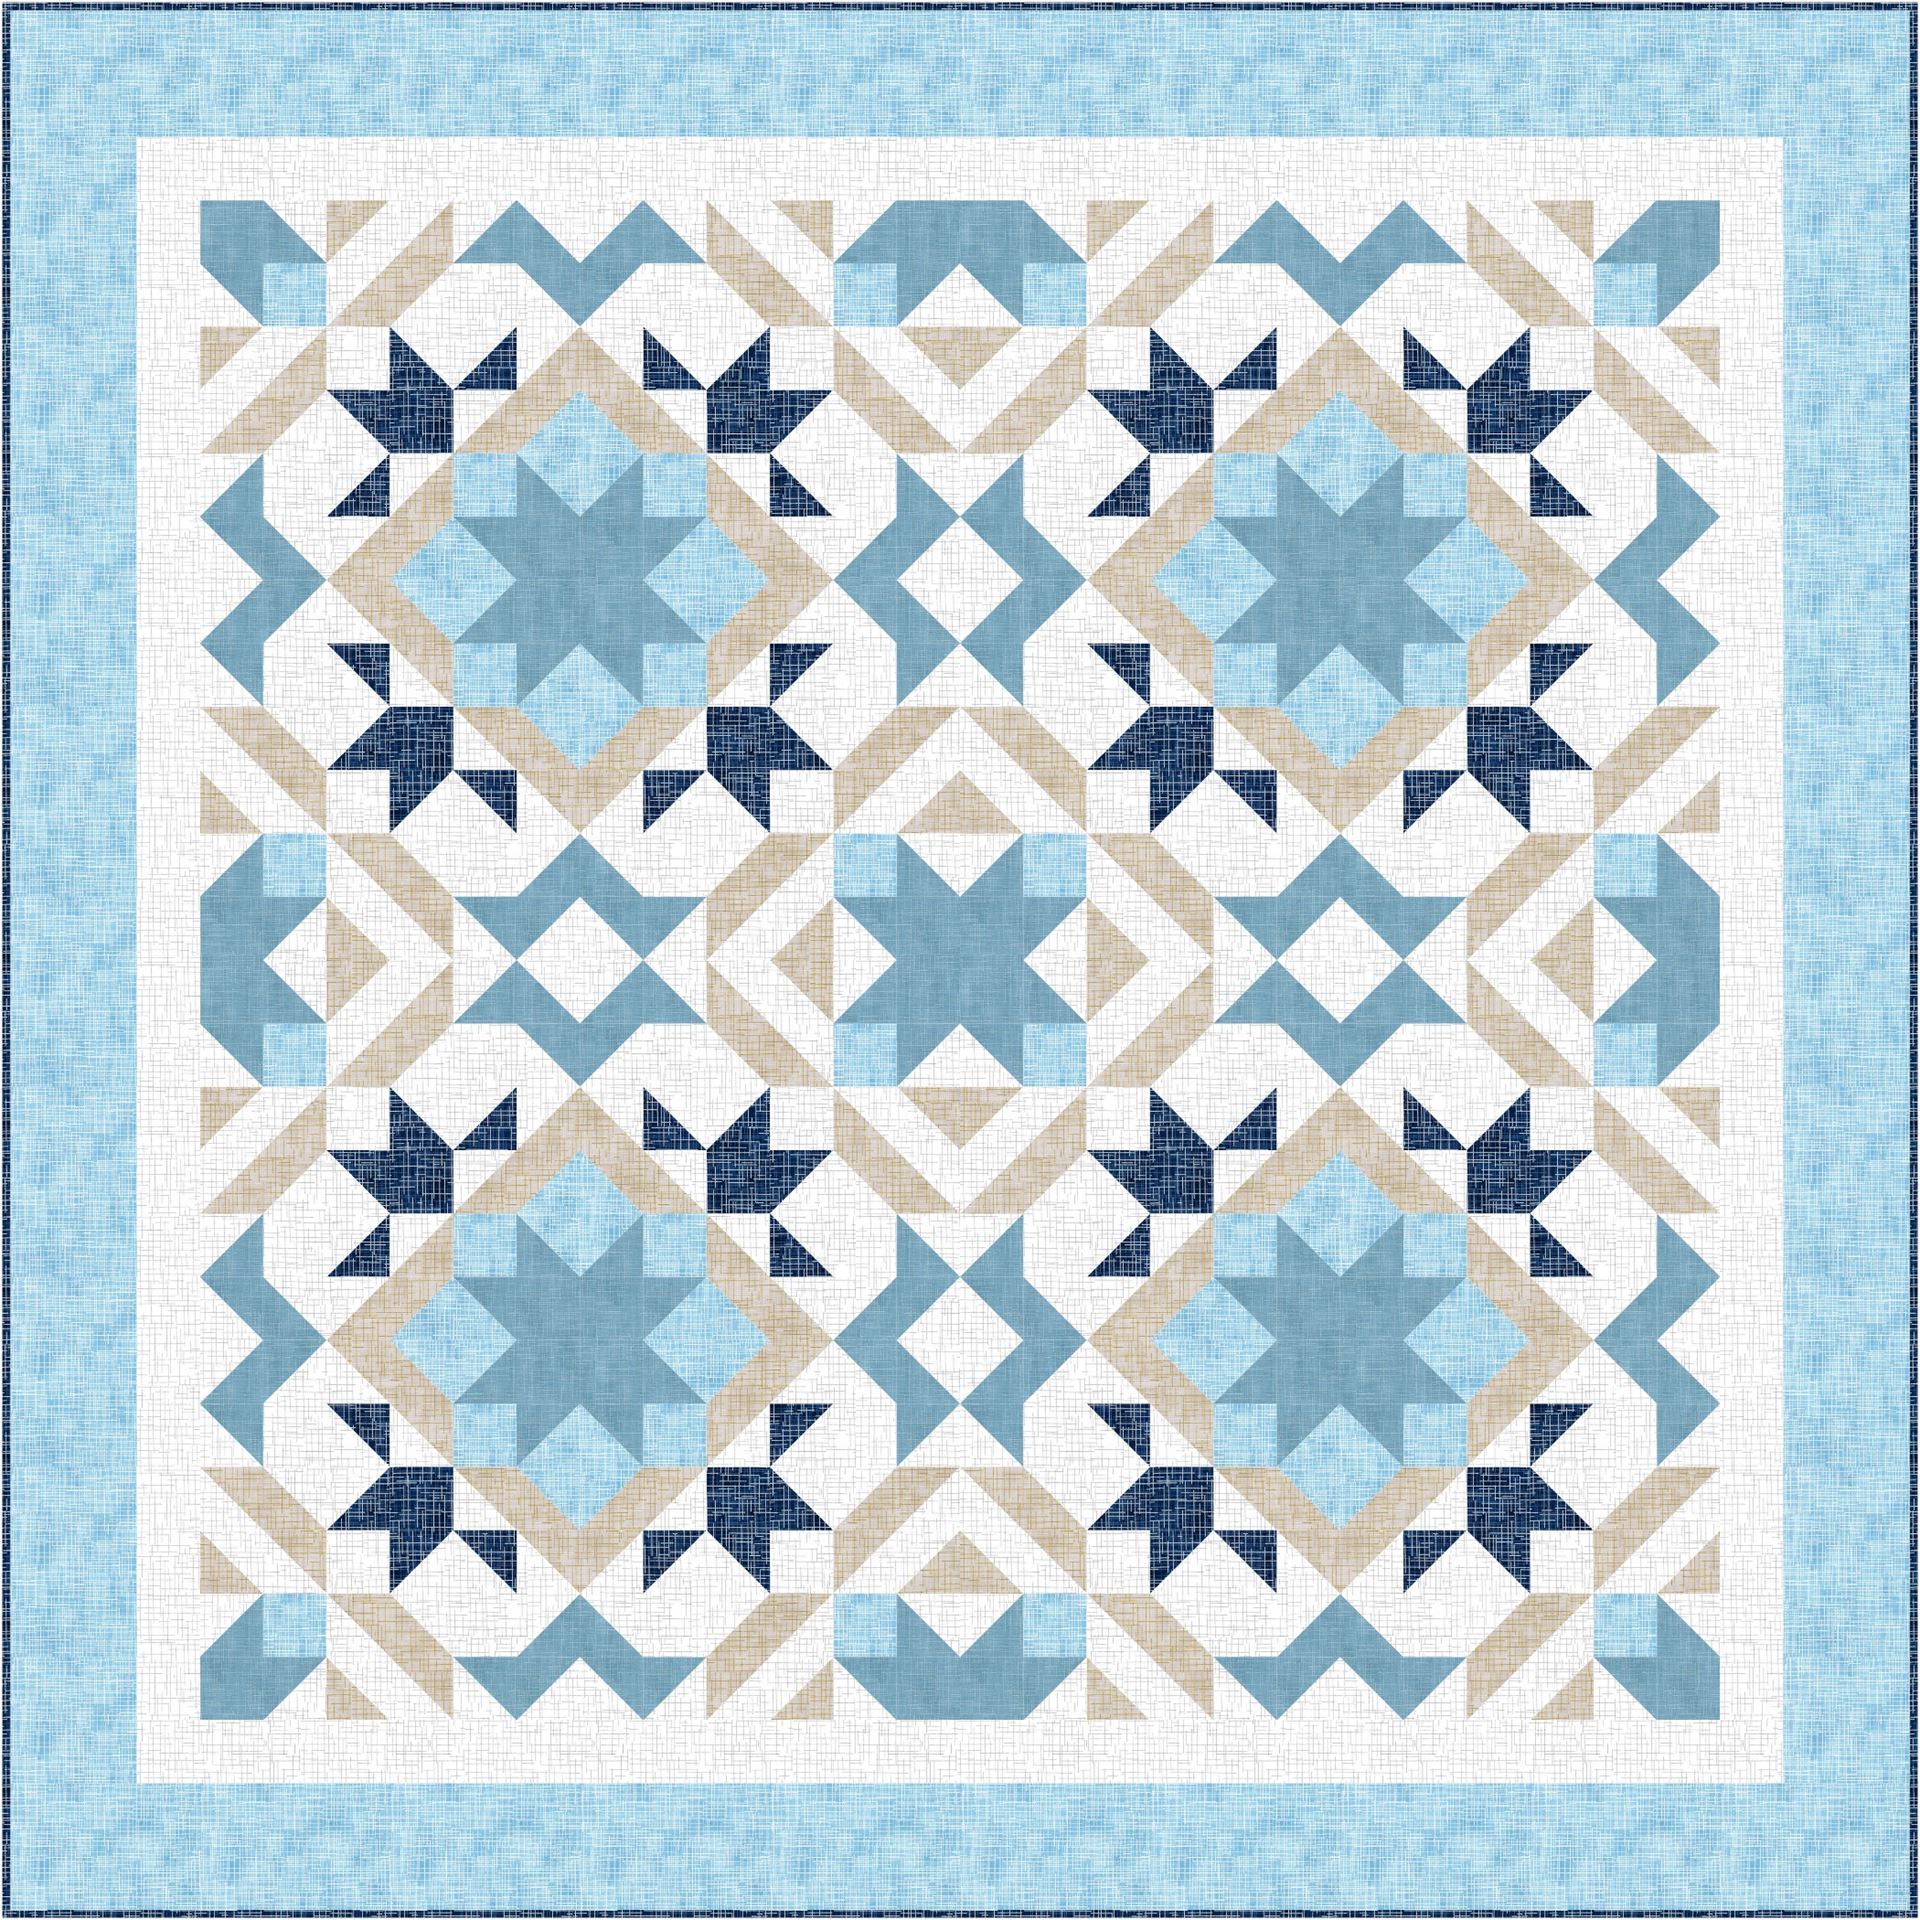
Welcome back to our Summer Quilt-A-Long
This is part 3 in our Quilt -A-Long and this week we are l
ooking at different ways to make Half Square Triangles (HST). If you missed part 1 and 2 of our QAL you will find the instructions at the links below on our branch page at www.irishpatchwork.com.
Step 1: Introduction, Design and colouring on 01/06/20
Step 2: Breaking down the block into basic quilt units on 15/06/20
Step 3: Half Square Triangles : Half Square Triangles or HST are like Marmite or Oxtail soup – you either love them or put up with them as something that exists in the world and necessary to make from time to time. There are many ways to make them and in this week’s instruction we are going to be looking at just a few of these, with some handy reference tables for you to keep, and refer to when designing your own quilts.
The HST is made from 2 right angled triangles.They are  normally made from a starting square and cutting it in half but they can be made from templates if you don’t have enough fabric for a square.
Templates for sizes 1” to 6” are in this PDF for you to download. These can be handy when you are working from scraps and trying to make the most of odd pieced fabrics and don’t have enough fabric on hand to use the starting square methods below.
 Using a starting square is the more usual way to make HST and you need a square big enough to take into account the seam allowance on the long angled side when sewing two triangles, right sides together.
The starting square is at least Finis hed Size + 7/8”. I prefer to use Finished Size +1” as it is quicker to cut and gives you a little wiggle room on sewing a ¼” seam. It does mean that you have to trim the HST to the finished size after sewing though, so an extra step is needed, but it is very satisfying, when you see all the little slivers of fabric together in a pile and you have perfect HST at the end. e.g. 2” Finished Size +1” = cut 3” starting square. Trim to 2 ½” after sewing together.
This method is handy when you want all sorts of different fabrics to mix and match and you can pull what you need to make all different HST units.

The drawback with this method is you have bias edges that if handled too much can pull out of shape.

Tip: When using this method, it can help to use spray starch or a starch alternative such as Best Press. This will give some stiffness to the fabric and help with controlling biased edges.
Trim using the 45-degree line on your ruler or cutting mat by aligning the HST diagonal line with the 45-degree line on your ruler and cutting down to the desired size.
2 at a time : Drawn Line Method
The drawn line method is similar to the method above in that you use a starting square that is the finished size of your HST unit at least +7/8” or 1” that I prefer to use e.g. 3” Finished HST would need a starting square of 4”.
For quick reference see this table:

 Instead of cutting on the diagonal first to create two triangles, instead we place two different fabric squares right sides together.
Mark a line on the diagonal on the back of one of the squares and sew ¼”on either side of that line.


Press seams, cut along the diagonal on the marked line and flip open.
Press and trim to size for two identical HST.

8 at a time Drawn Line Method
If you have a lot of the same HST to make, then the 8 at time version of the drawn line method is for you. To make 8 at a time you need a bigger starting square. This time we take the finished size +1” and multiply by 2 e.g. 2” finished +1” =3” x 2 = 6” so we would cut a starting square of 6” to make 8 identical 2” HST.
The trick is in the marking and cutting.
As before, take two different fabric squares and place them right sides together. On the back of the square facing you mark a line along both diagonals. Sew a ¼” seam on either side of both marked lines.

We ar e going to make 4 cuts without lifting the fabric. Divide the block into quarters by cutting in half twice as per orange lines on the diagram.
Then cut along the diagonals on the marked line to create 8 identical HST.
Press and flip open. Trim to size.

If you prefer a table here’s the starting square for 8 at a time:

4 at a time Quick Sew Method
I first saw this method on the Missouri Star Quilt Company when Jenny Doan was making HST from layer cakes. This method is a bit controversial as unlike the drawn line method above where you are capturing the bias edges in a seam, this method is like the 1 at a time where you are cutting on the diagonal and exposing the bias edges. So be very careful handling your pieces and try using some starch to keep them in shape. This method is not recommended for hand sewing as too much handling will lead to distorted edges.
Take two different fabric squares and place them right sides together. Sew a ¼” seam inside all four edges. Cut along both diagonals to make 4 identical HST. Flip open, press and trim to size.

But what size to use as a starting square I hear you ask? This is the tricky bit. The math’s on this one is a little difficult. When I first saw that you add 7/8” for HST instead of ½” my engineering brain had to figure it out and a bit of trigonometry later I felt like I had it and got HST. Then I saw this quick method and so I looked up the math and after going ouch, that hurts my brain, I got to grips with a formula square root( (Unfinished size squared) x 2)) +0.5 gets close to the finished size. I know it’s mental, so here’s a table instead:

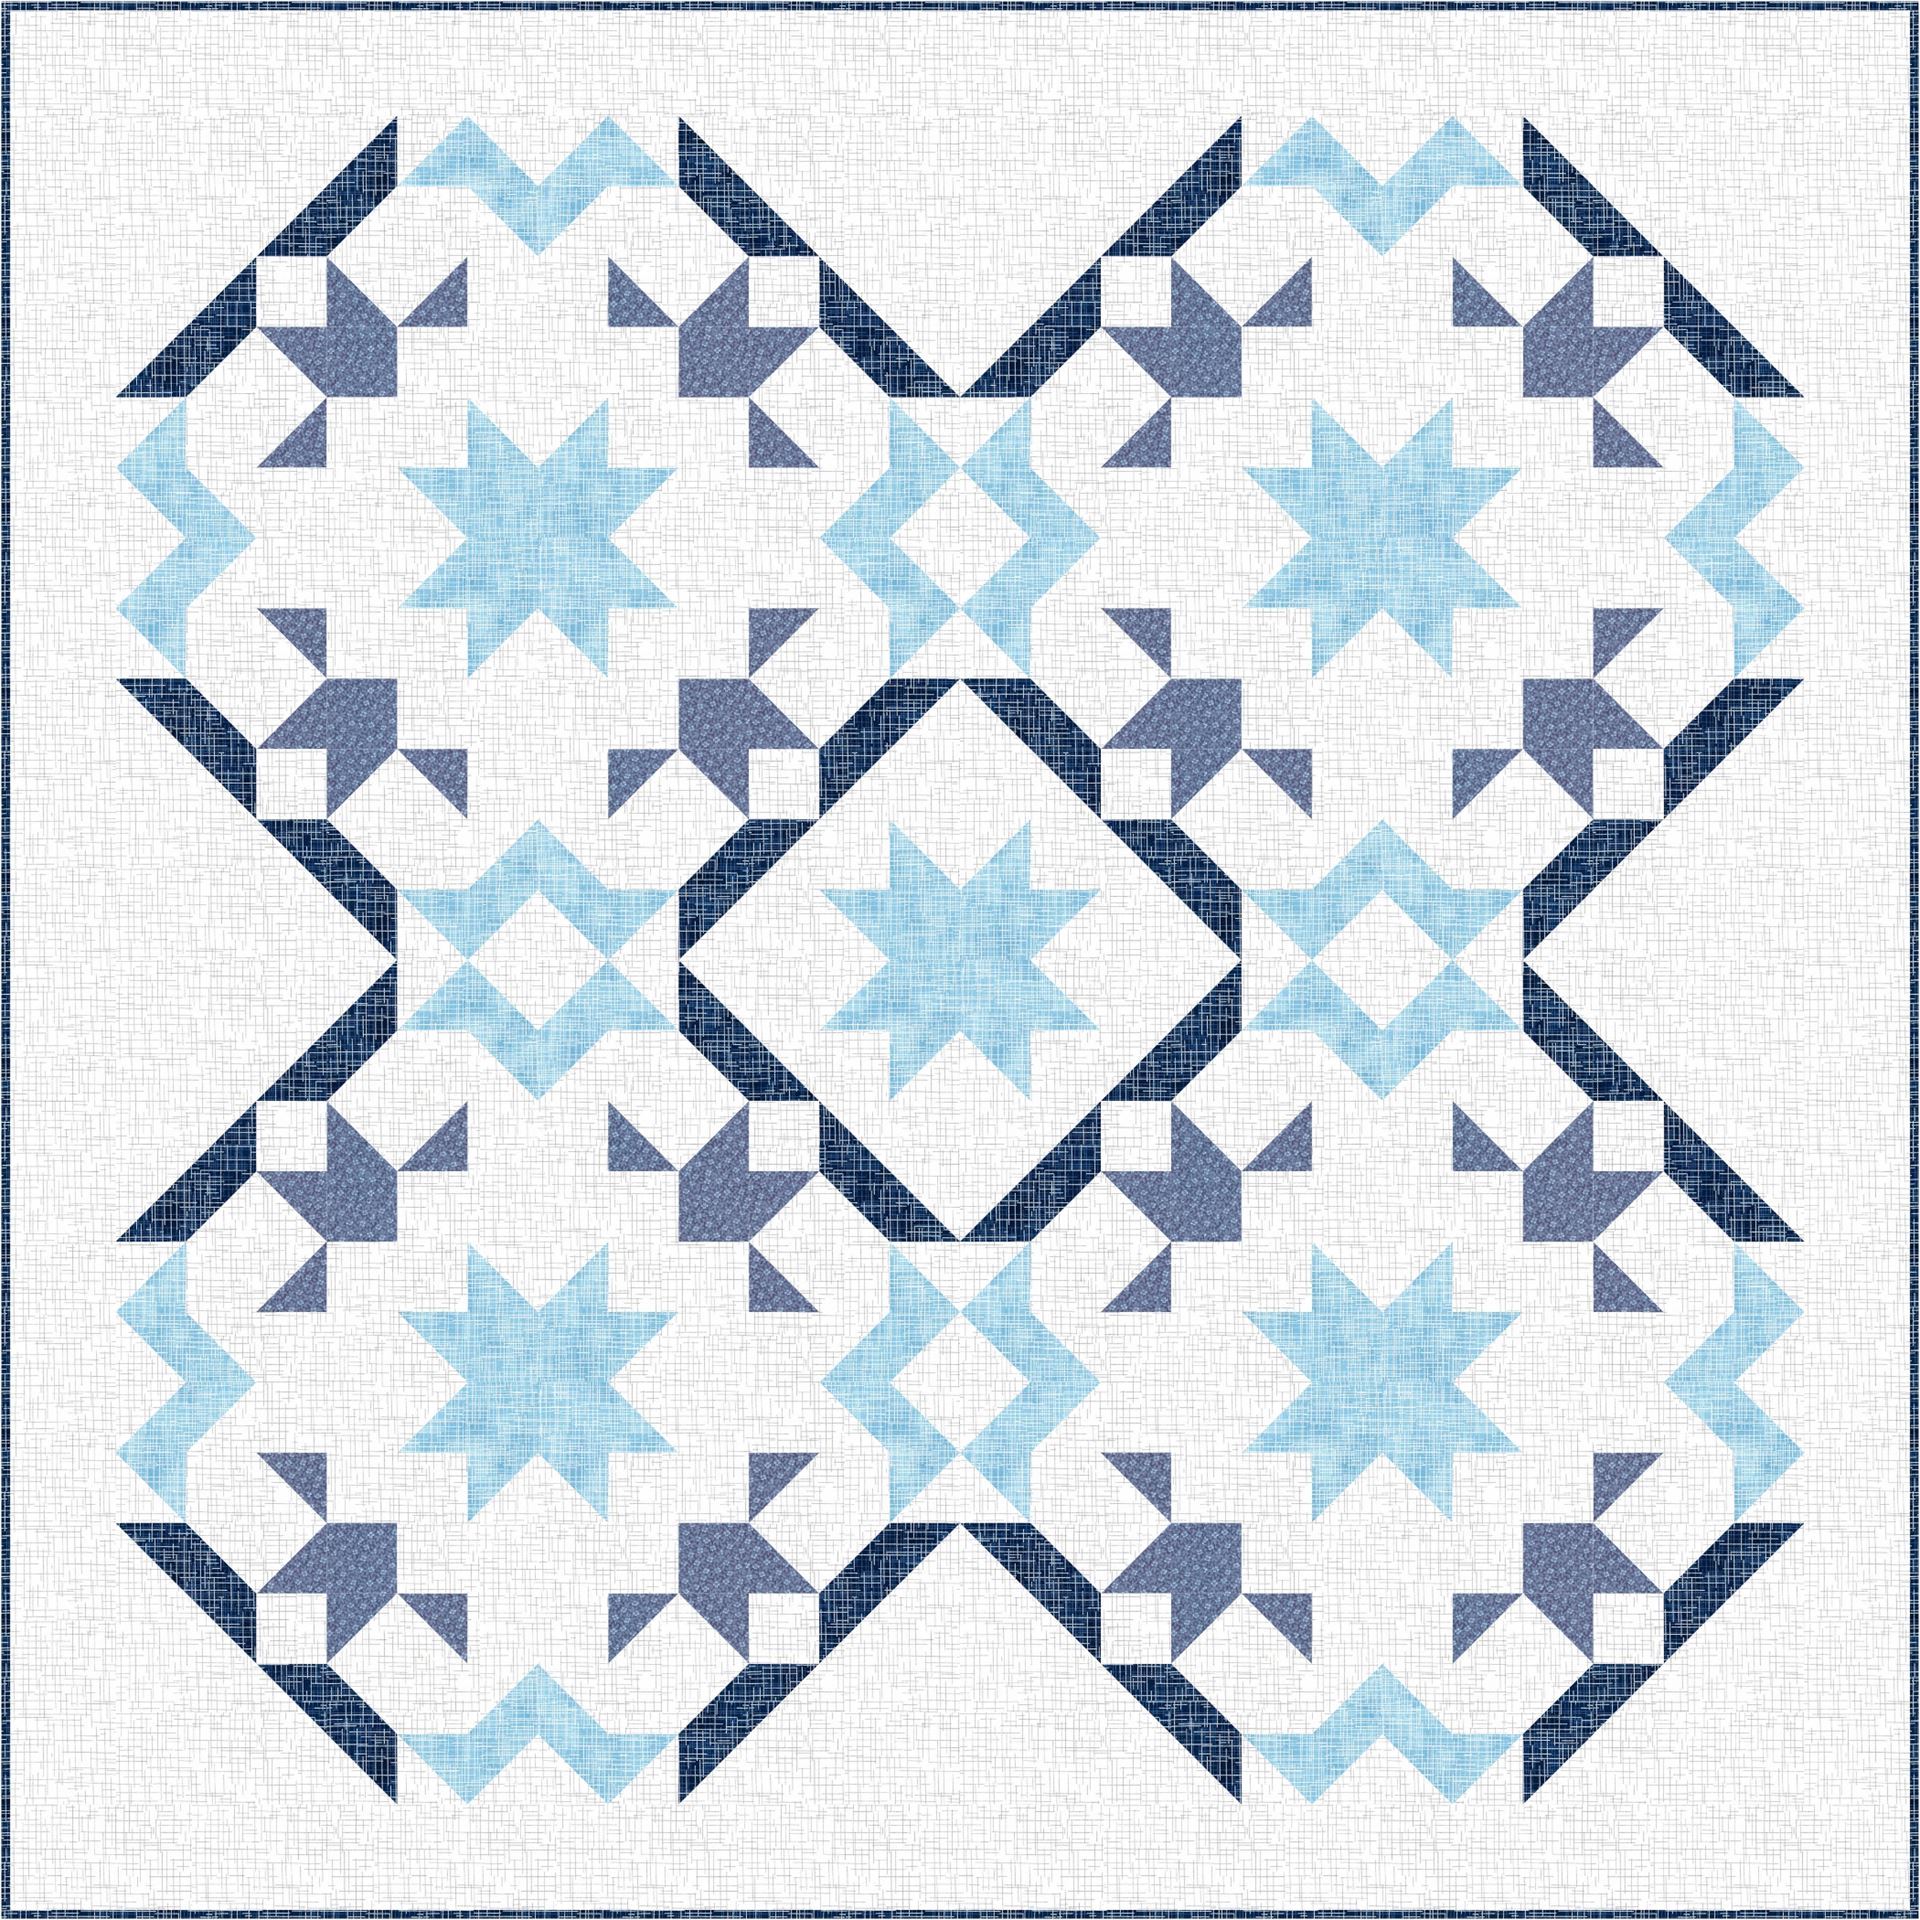
So what does all of this have to do with our QAL? Well from step 2 we know how many of each HST we need for our block.
Block 1:

Block 2:

Depending on the fabric you have on hand, using scraps or yardage, select the method that suits your fabric best. So go ahead and make the required number of HST units for your chosen block.
Chain Piecing
Chain Piecing is when you have all your pieces assembled and you feed them through the sewing machine one after the other without lifting your presser foot or breaking thread between them.

It’s like sewing your pieces together in a little assembly line and it saves on thread. It can also take away the tedium of sewing a lot of the same pieces one by one. The key is to have all your pieces prepared and stacked up ready for sewing.
Tip: Some people like to use a scrap piece of fabric to start the chain off called a leader.

The leader piece can be a scrap piece of fabric or some small squares or triangles that you can use to make another project.

You can also use an ender piece, which can be handy for HST so when you turn the chain around to sew the other side you have a scrap piece ready to get you started.
Please join us in two weeks time, when we look at Flying Geese and again 4 different ways of making them including the No Waste 4 at a time method, sew and flip method, foundation paper piecing and 1 at a time from templates.
Thanks for joining us,
Stay safe and happy sewing!
©Ruth Bourke
Mid-Western Branch
